Quick Answer
To change a drinking water filter, shut off the water supply to the filter, release pressure by opening the faucet or pressing the relief button, unscrew the housing or twist out the cartridge, and install the new cartridge with a clean, lubricated O-ring. Turn the water back on slowly, check for leaks, and flush the new filter as the manufacturer directs, usually for several minutes.
Key Takeaways
- Change intervals vary by type: pitcher filters every 1 to 6 months, refrigerator filters about every 6 months, under-sink cartridges about every 6 to 12 months.
- Always shut off the water and relieve pressure before opening a filter housing to avoid a spray of water.
- Replace or lubricate the housing O-ring with food-grade silicone grease so it seals without leaking.
- Flush every new filter before drinking from it to clear carbon fines and trapped air.
A water filter only works while its media still has capacity. Once a cartridge is used up, flow slows, taste and odor return, and the filter stops reducing the contaminants it was certified for. The good news is that most filters take 5 to 15 minutes to change with basic tools. This guide covers under-sink canisters, refrigerator filters, faucet-mount units and pitchers.
How Often Should You Change a Drinking Water Filter?
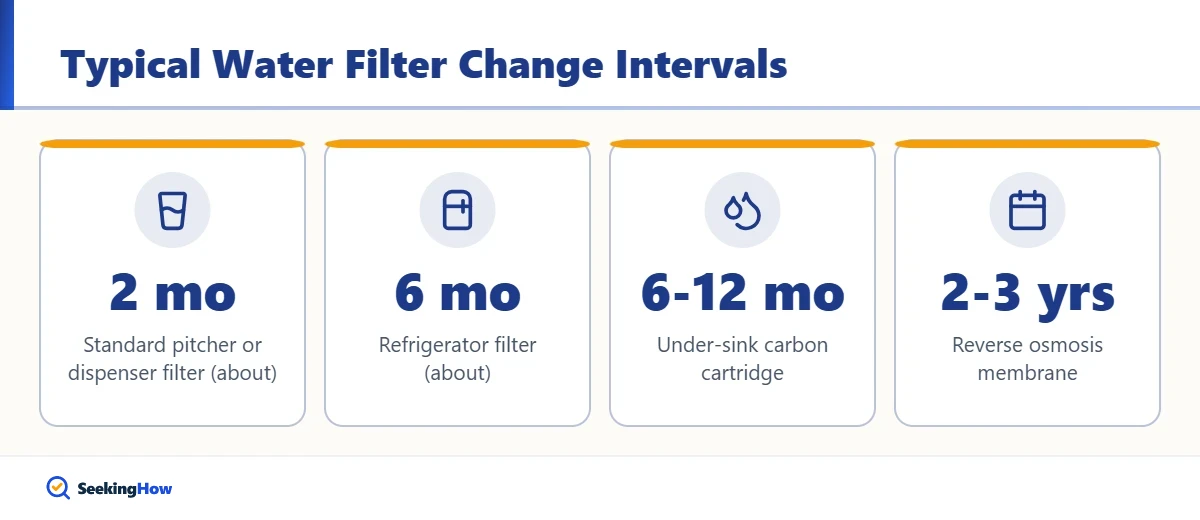
Follow the manufacturer’s rated capacity, which is listed in gallons and months; change it at whichever limit you hit first. Change it sooner if flow drops, the water tastes or smells off, or your water has a lot of sediment.
| Filter type | Typical change interval | Signs it is due |
|---|---|---|
| Pitcher or dispenser | About every 2 months for standard filters; longer-life filters up to about 6 months | Slow filtering, taste returns, indicator light |
| Faucet-mount | About every 2 to 3 months | Indicator change, reduced flow |
| Refrigerator filter | About every 6 months | Filter light, slow dispenser, small ice cubes |
| Under-sink carbon cartridge | About every 6 to 12 months | Low flow, taste or odor |
| Reverse osmosis prefilters | About every 6 to 12 months | Slow tank refill |
| Reverse osmosis membrane | About every 2 to 3 years | Taste changes, high TDS reading |
| Whole-house sediment filter | About every 3 to 6 months | Visibly dirty cartridge, pressure drop |
When buying replacements, look for certification to NSF/ANSI standards, such as Standard 42 for taste and odor, 53 for health-related contaminants like lead, 58 for reverse osmosis and 401 for certain emerging contaminants. Make sure the specific claims you care about are listed for that model.
What Do You Need to Change a Water Filter?
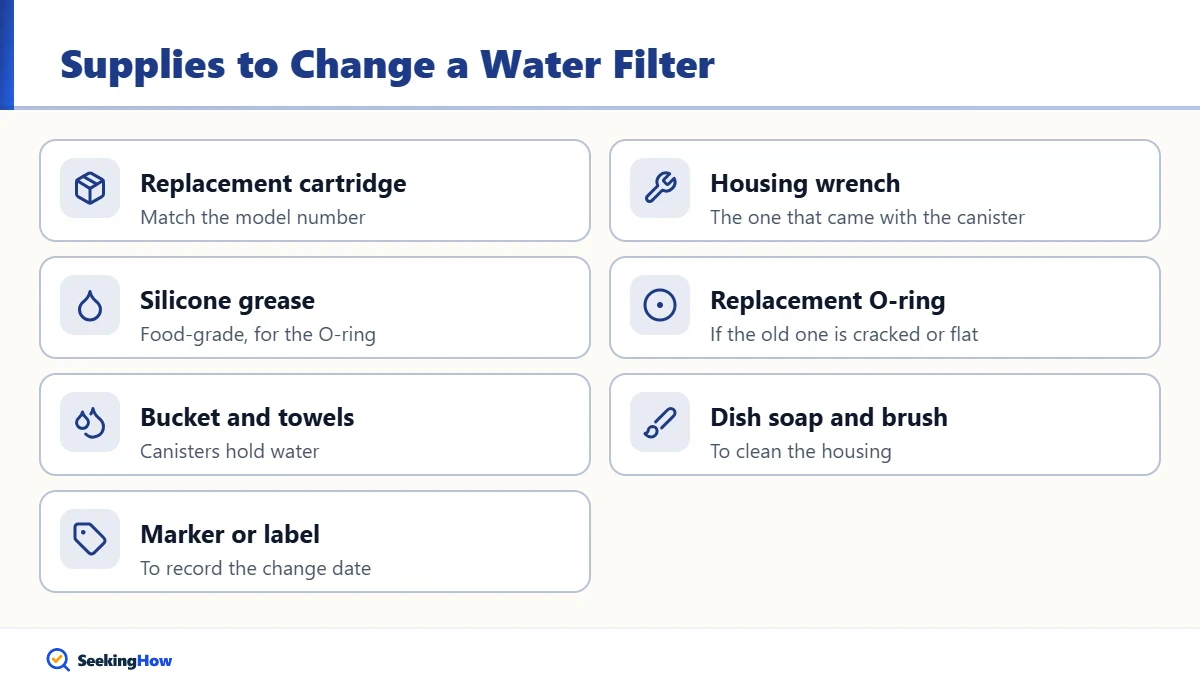
- Correct replacement cartridge: match the model number on the housing or old filter.
- Housing wrench: the plastic wrench that came with canister systems.
- Food-grade silicone grease: for the O-ring.
- Replacement O-ring: if the old one is cracked or flattened.
- Bucket and towels: canisters hold water.
- Mild dish soap and a soft brush: to clean the housing.
- Marker or date label: to record the change date.
How Do You Change an Under-Sink Water Filter?
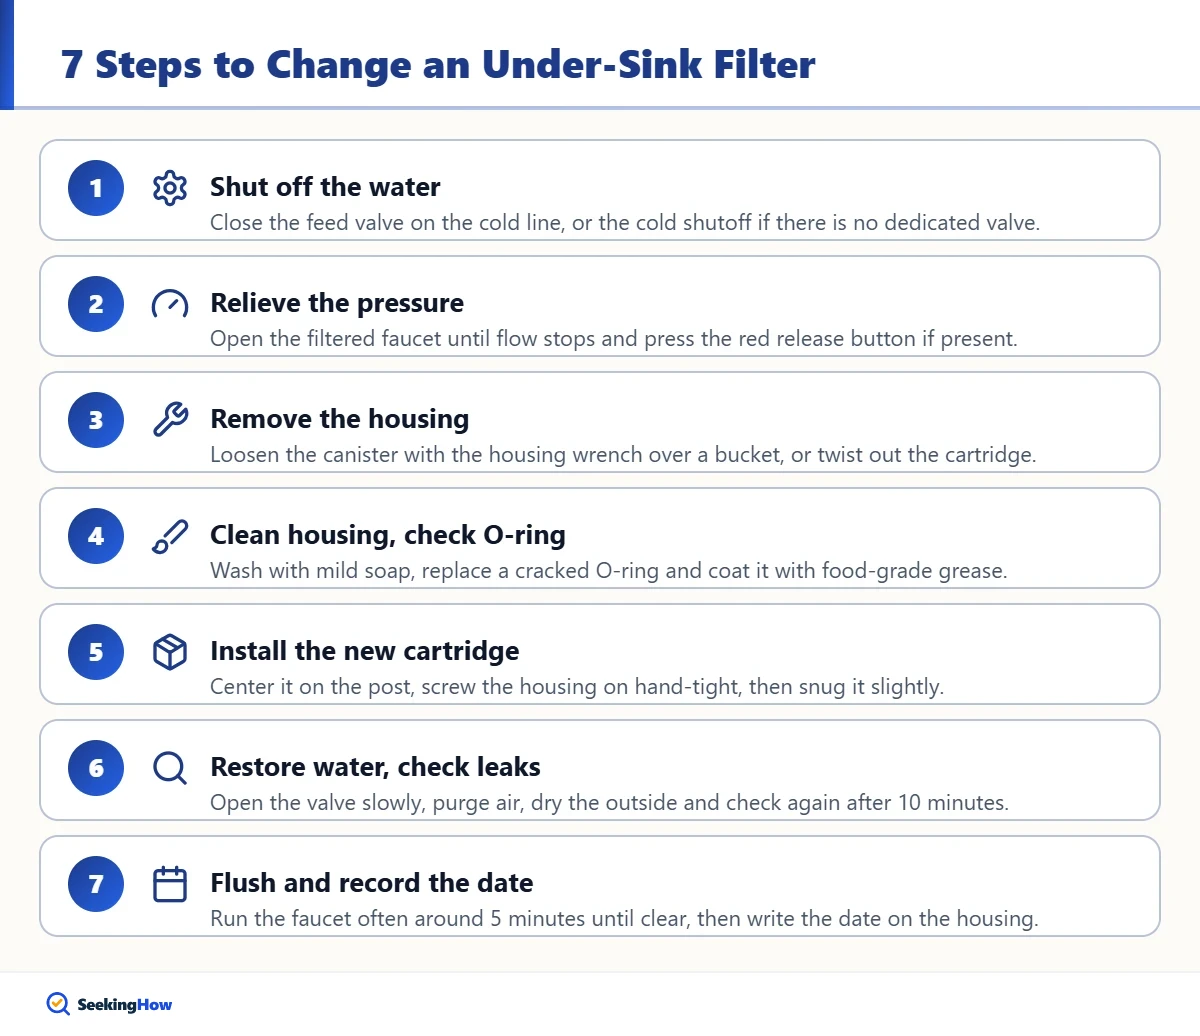
Step 1: Shut Off the Water to the Filter
Close the feed valve that supplies the filter, usually a small valve on the cold-water line under the sink. If there is no dedicated valve, close the cold shutoff valve. For a whole-house filter, close the valve before the filter or the main.
Step 2: Relieve the Pressure
Open the filtered water faucet until the flow stops. If the housing has a red pressure-release button on top, press it. This prevents water from spraying when you open the housing and makes it easier to unscrew.
Step 3: Remove the Housing or Cartridge
Set a bucket underneath and loosen the canister with the housing wrench, turning counterclockwise as viewed from below. For twist-in cartridge systems, turn the cartridge a quarter turn and pull it straight down. Expect some water to spill.
Step 4: Clean the Housing and Check the O-Ring
Dump the water and remove the old cartridge. Wash the housing with warm water and a little dish soap, rinse thoroughly, and wipe out any slime. Remove the O-ring, inspect it for cracks or flat spots, and replace it if needed. Apply a thin coat of food-grade silicone grease and press it back into its groove.
Step 5: Install the New Cartridge
Remove the wrapping from the new cartridge without touching the filter media more than necessary. Center it in the housing, making sure it sits on the post at the bottom, and screw the housing back on hand-tight. Snug it with a slight turn of the wrench; overtightening can crack the housing or pinch the O-ring.
Step 6: Restore Water and Check for Leaks
Open the feed valve slowly while watching the housing seal. Press the pressure-release button to purge trapped air if your system has one. Dry the outside with a towel and check again after 10 minutes; tighten slightly if you see weeping.
Step 7: Flush the Filter and Record the Date
Run the filtered faucet for the time or volume the manufacturer specifies, often around 5 minutes, until the water is clear and free of sputtering. Cloudy or black specks at first are usually harmless carbon fines. Write the date on the housing or set a phone reminder for the next change.
How Do You Change a Refrigerator Water Filter?
Locate the filter, which is usually inside the fridge in the upper right corner, behind the base grille, or inside a door compartment. Push-button models release when you press the button; twist-in models turn a quarter turn counterclockwise. Have a towel ready for drips, insert the new filter in the same orientation and push or twist until it locks.
Dispense water for the amount your manual recommends, often several gallons, to flush air and carbon fines, then reset the filter indicator light. If water collects inside the fridge after a filter change, the filter may not be fully seated; see our guide to why your fridge is leaking water. If ice production drops afterward, check why a Whirlpool ice maker stops working.
How Do You Change Pitcher and Faucet-Mount Filters?
Pitcher filters: Remove the reservoir lid and pull the old filter straight up. Some brands require soaking or rinsing the new filter first; follow the box instructions. Seat the new filter firmly, fill the reservoir, and discard the first one to three pitchers if the instructions say so. Reset the indicator.
Faucet-mount filters: Turn off the tap, twist off the cartridge cover or pull the cartridge out, insert the new one with the alignment marks matched, and run cold filtered water for about 5 minutes. Use only cold water through these filters, since hot water can damage the media.
Tip: Buy a spare cartridge when you install one. Having the next filter on hand makes it far more likely you change it on schedule instead of running an expired filter for months.
Why Is My Filter Leaking After Replacement?
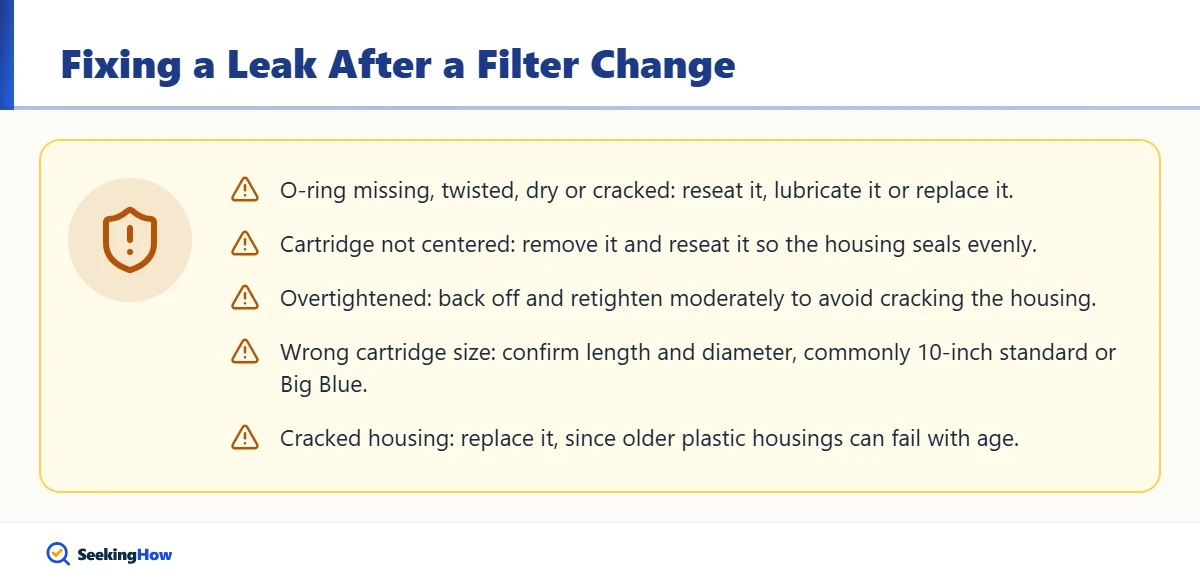
- O-ring problems: missing, twisted, dry or cracked. Reseat it, lubricate it or replace it.
- Cartridge not centered: the housing does not seal evenly. Remove it and reseat the cartridge.
- Overtightening: can deform the O-ring or crack the housing. Back off and retighten moderately.
- Wrong cartridge size: confirm the length and diameter, commonly 10-inch standard or Big Blue sizes for canisters.
- Cracked housing: replace the housing; older plastic housings can fail with age.
Safety: If your system is installed on a well or used to reduce specific health contaminants such as lead or arsenic, follow the manufacturer’s schedule exactly and consider testing your water. If you find a cracked fitting, a leaking supply valve or water damage in the cabinet, turn off the water and call a licensed plumber.
What Happens If You Do Not Change Your Water Filter?
An expired filter slows to a trickle as sediment clogs it, and carbon filters lose their ability to reduce chlorine taste and many contaminants. A neglected cartridge can also grow bacterial slime inside the housing, especially in warm cabinets. In short, an old filter can make your water taste worse than unfiltered tap water.
Changing the filter on schedule protects the water quality you paid for. If you are upgrading the faucet at the same time, our guide on how to replace a kitchen faucet covers the installation, and many under-sink filters can share the same cold-water line with a simple tee fitting.
Frequently Asked Questions
How do I know when my water filter needs changing?
Check the manufacturer rating in gallons or months and change at whichever comes first. Other signs include slower flow, a return of chlorine taste or odor, a filter indicator light, cloudy water or a dirty sediment cartridge. When in doubt, a fresh filter is inexpensive insurance.
Do you need to flush a new water filter?
Yes. New carbon filters release harmless black carbon fines and trapped air. Flush under-sink and faucet filters for the time listed in the instructions, often around 5 minutes, and dispense the recommended amount from a refrigerator filter, often several gallons, before drinking.
Can I use a generic refrigerator water filter?
Many compatible filters fit and work, but quality varies. Choose one certified by an accredited body to NSF/ANSI standards for the contaminants you care about, and confirm it fits your fridge model. A poorly fitting filter can leak, so check carefully after installation.
Is it bad to drink water from an old filter?
An expired filter generally stops reducing contaminants and can harbor bacteria growth, especially if it sits unused or in a warm spot. It may make water taste worse than plain tap water. Replace the filter on schedule, and use tap water directly until you can change it.
What does the red button on a water filter housing do?
The red button on top of many filter housings is a pressure-release valve. Pressing it after shutting off the water lets trapped pressure escape so the housing unscrews easily, and pressing it after refilling purges trapped air from the housing.