Quick Answer
To install a grease fitting, match the new fitting’s thread to the hole (commonly 1/4-28 taper, 1/8 NPT, M6 or M8), clean the threads, start it by hand, then snug it with a wrench about a quarter to half turn past hand-tight. Aim the nozzle toward the grease gun, then pump grease until fresh grease appears. The job takes 5-10 minutes.
Key Takeaways
- The most common grease fitting threads are 1/4-28 SAE taper, 1/8-27 NPT, M6 x 1 and M8 x 1.
- Always start a grease fitting by hand; cross-threading ruins the hole in soft castings.
- Tapered threads seal by wedging, so snug is enough; overtightening can crack housings or snap the fitting.
- Choose straight, 45-degree or 90-degree fittings so the grease gun coupler can reach without bending.
- Drive-type fittings are hammered into a plain drilled hole, not threaded in.
Grease fittings, also called Zerk fittings, let you pump fresh grease into joints, bearings and pivots without taking them apart. Knowing how to install a grease fitting correctly matters because a wrong thread or an overtightened fitting can leak grease or crack the part. These steps cover replacing a broken fitting and adding one to a pre-tapped port.
What You’ll Need
- Replacement grease fitting with the correct thread and angle (straight, 45 or 90 degree)
- Thread pitch gauge or the old fitting for comparison
- Combination wrench or socket that fits the fitting’s hex (often 1/4 inch or 7 mm on small fittings, larger on 1/8 NPT)
- Wire brush, pick and brake cleaner or degreaser
- Grease gun loaded with the grease type your manual specifies
- Shop towels and safety glasses
- Thread tap of the matching size (optional, only to chase damaged threads)
- Grease fitting installer tool or socket (optional, for drive-type fittings)
How To Install a Grease Fitting: Step-by-Step
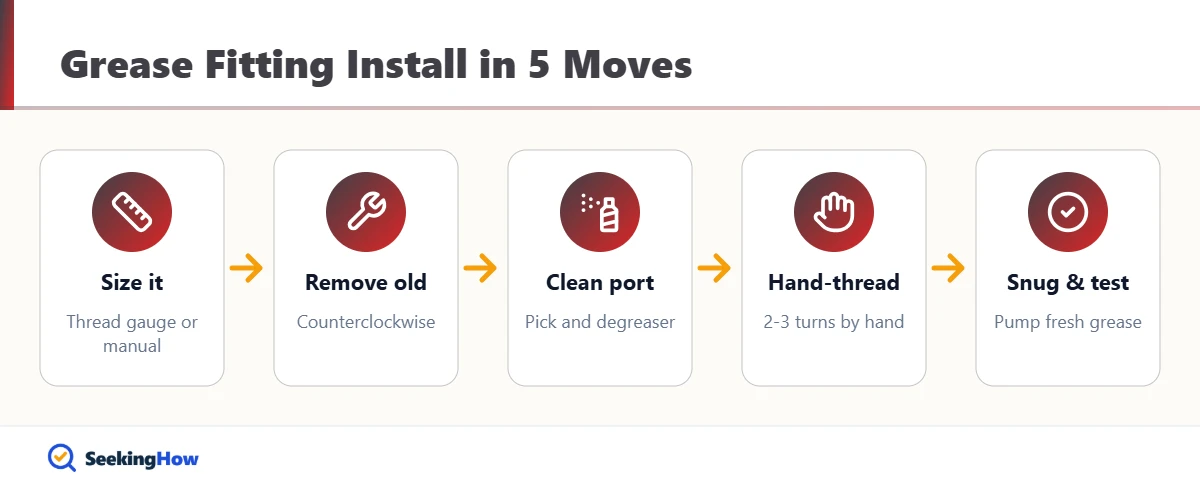
Step 1: Identify the Thread Size
Check the equipment manual or measure the old fitting with a thread gauge. The common sizes look similar, so do not guess: 1/4-28 taper and M6 x 1 are close in diameter but do not interchange. Many parts stores sell assortments with all common sizes, which is handy if you service several machines.
Step 2: Remove the Old Fitting
Unscrew the old fitting counterclockwise with a snug-fitting wrench. If it is seized or broken off, apply penetrating oil and let it soak 15 minutes first. If it has no hex and no threads, it is a drive-type fitting, covered in how to remove drive-type grease fittings.
Step 3: Clean the Port
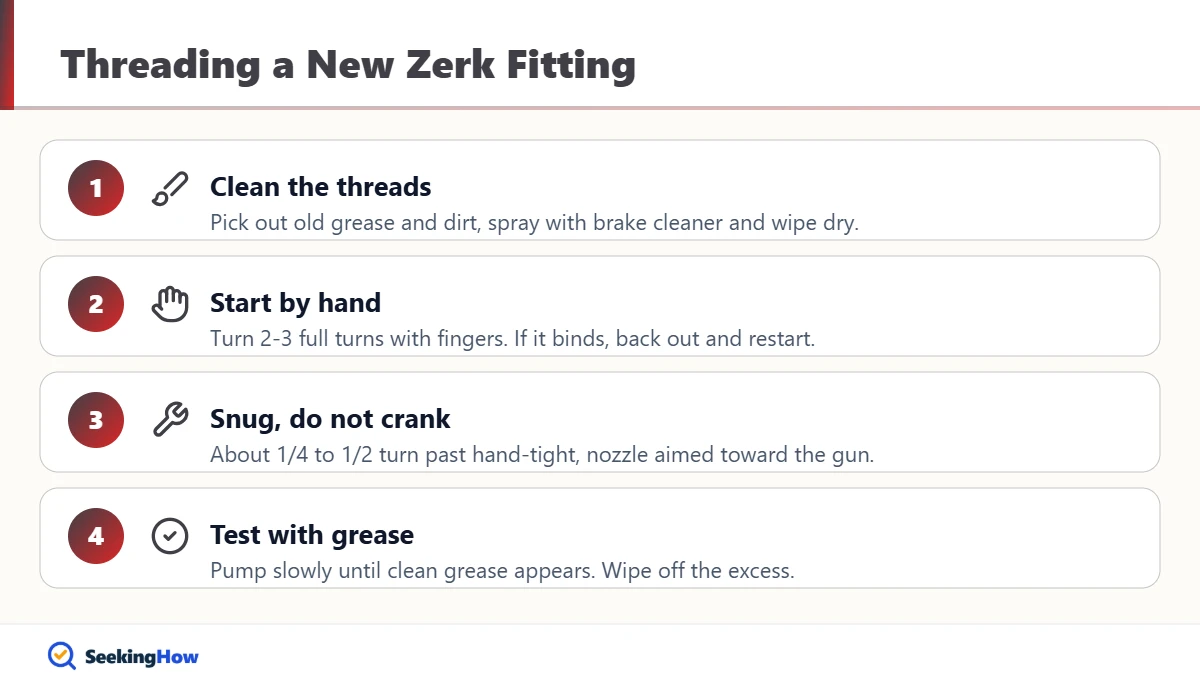
Pick out dried grease and dirt, spray the port with brake cleaner and blow or wipe it dry. Debris in the threads causes cross-threading and can be pushed into the bearing the first time you grease it. If threads are damaged, chase them carefully with the matching tap.
Step 4: Thread the New Fitting by Hand
Start the fitting with your fingers and turn it at least 2-3 full turns before using a wrench. If it binds early, back it out and restart; forcing it is the most common way people strip the hole. For angled fittings, note which way the nozzle will face when snug.
Step 5: Snug It With a Wrench
Tighten about a quarter to half turn past hand-tight on tapered threads, stopping with the nozzle aimed where the grease gun can reach. Do not crank it down; small fittings snap and aluminum or cast parts crack. Thread sealant is generally not needed on tapered grease fitting threads.
Step 6: Test With the Grease Gun
Wipe the nozzle, push the gun coupler straight on and pump slowly until clean grease appears at the joint seals or old grease is purged. If grease squirts from around the threads, tighten slightly; if it won’t take grease, the joint may be blocked. Wipe off excess grease so it doesn’t collect dirt.
Installing a Drive-Type Grease Fitting
Drive-type fittings have a ribbed shank instead of threads and press into a plain drilled hole. Set the fitting in the hole, place an installer tool or a deep socket over the nozzle so you don’t hit the ball check, and tap it in with a small hammer until the shoulder seats. They are common on light equipment and some steering components; replacing one with a threaded fitting means drilling and tapping the hole to the new size.
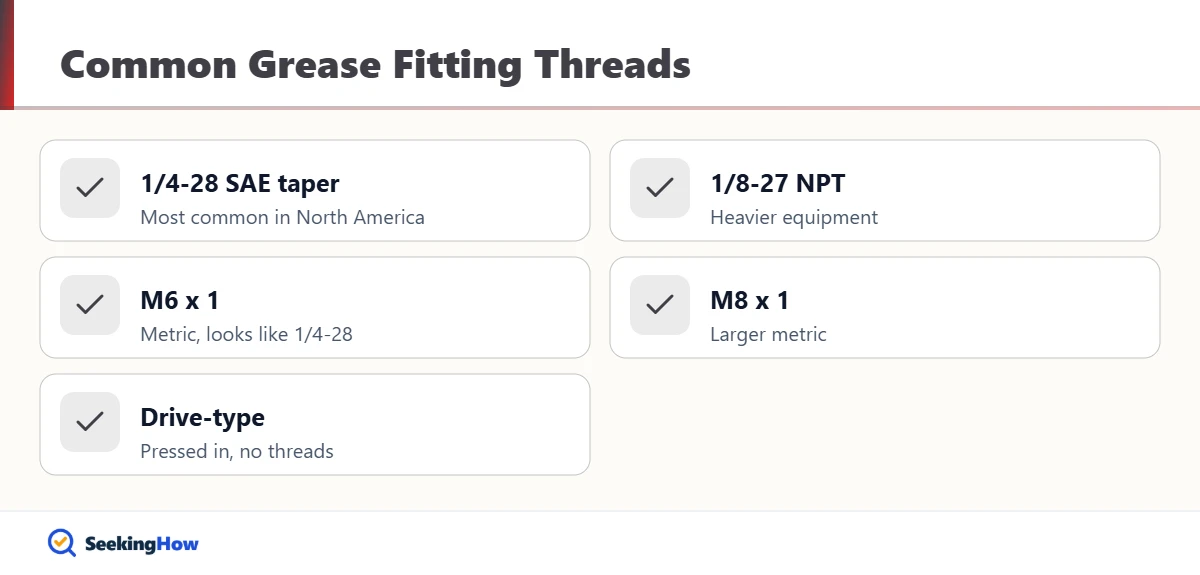
| Thread | Where it is common | Notes |
|---|---|---|
| 1/4-28 SAE taper | U.S. cars, trucks, farm and lawn equipment | Most common in North America |
| 1/8-27 NPT | Heavier equipment and industrial machinery | Larger hex; pipe thread |
| M6 x 1 | Imported and metric equipment | Easily confused with 1/4-28 |
| M8 x 1 | Imported and metric equipment | Larger metric size |
| Drive-type | Light equipment, some steering parts | Pressed in, no threads |
Bottom line: Match the thread exactly, start it by hand and stop at snug; most grease fitting problems come from guessing the size or overtightening.
If That Didn’t Work
Problem: The fitting won’t take grease. Cause: Stuck check ball, hardened grease in the passage or a blocked joint. Fix: Try a new fitting; if the joint still won’t accept grease, flush the passage or service the joint.
Problem: Grease leaks around the threads. Cause: Loose or wrong thread size. Fix: Snug slightly; if it bottoms out loose, confirm the size with a thread gauge.
Problem: The new fitting won’t thread in. Cause: Wrong size, debris, or damaged threads. Fix: Clean the port and chase with the correct tap, or use an oversize or self-tapping repair fitting.
Problem: The grease gun won’t stay on. Cause: Worn coupler or damaged fitting head. Fix: Replace the coupler or fitting; keep the gun straight on the nozzle.
Safety and When To Call a Pro
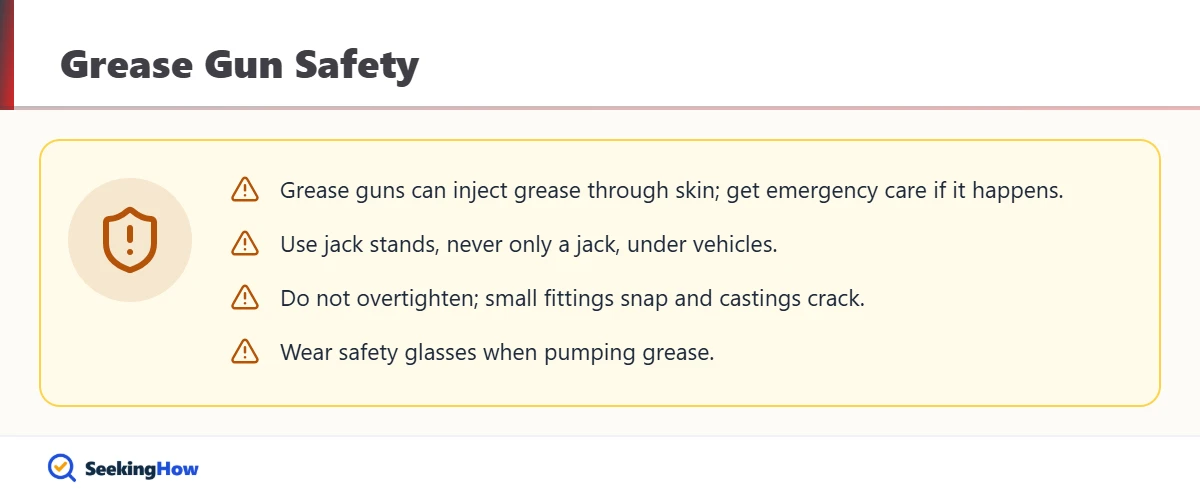
Support vehicles on jack stands, never just a jack, before working under them, and chock the wheels. Wear safety glasses; grease guns develop very high pressure and can inject grease through skin, which is a medical emergency even if the wound looks small. Have a shop handle fittings on steering or suspension parts where the threads are stripped, cracked housings, or ball joints that won’t take grease, since those parts may need replacement for safety.
Prevention Tips
- Fit rubber or plastic caps over grease fittings to keep dirt out.
- Wipe the nozzle before every greasing so dirt isn’t forced into the bearing.
- Grease on the schedule in your owner’s manual, not just when something squeaks.
- Keep a small assortment of common fittings in your shop.
Related Guides
- How to remove drive-type grease fittings
- How to make a lawn mower go 40 mph
- What is the fastest way to remove rust from metal
- How to dispose of motor oil for free
Sources
- Your vehicle or equipment owner’s manual – lubrication points, grease type and intervals
- Occupational Safety and Health Administration (OSHA) – Machine and shop safety
- Grease fitting manufacturer catalogs – thread sizes and installation guidance
Frequently Asked Questions
What size are most grease fittings?
Most grease fittings in North America use 1/4-28 SAE taper threads. Other common sizes are 1/8-27 NPT on heavier equipment and M6 x 1 or M8 x 1 metric threads on imported machines. Check the manual or use a thread gauge, since 1/4-28 and M6 look nearly identical.
Do grease fittings need thread sealant or Teflon tape?
No, grease fittings generally do not need thread sealant or Teflon tape. Their tapered threads seal as they are snugged. Tape can shred into the grease passage and block it. If a fitting leaks at the threads, the size may be wrong or the threads damaged.
How tight should a grease fitting be?
A grease fitting should be snug, roughly a quarter to half turn past hand-tight on tapered threads. Overtightening can snap the fitting or crack aluminum and cast housings. Stop when it is firm and the nozzle faces a direction your grease gun can reach.
Can I add a grease fitting where there isn’t one?
You can add a grease fitting where there isn’t one only if the part was designed for it or a manufacturer offers a greaseable version. Drilling into sealed bearings, ball joints or bushings can weaken them or let dirt in. Check the parts maker before drilling and tapping anything safety-related.
When should I use a 90-degree grease fitting?
Use a 90-degree grease fitting when a straight fitting points into a frame rail, wheel or other part that blocks the grease gun coupler. 45-degree fittings solve tight spots that need less of an angle. Aim the nozzle before final tightening so the gun goes on straight.
Why won’t my new grease fitting take grease?
A new grease fitting usually won’t take grease because the passage behind it is packed with hardened grease or the joint is seized. Remove the fitting and clear the passage with a pick, or try a grease gun with higher pressure. If the joint still refuses grease, it may need service or replacement.