
Quick Answer
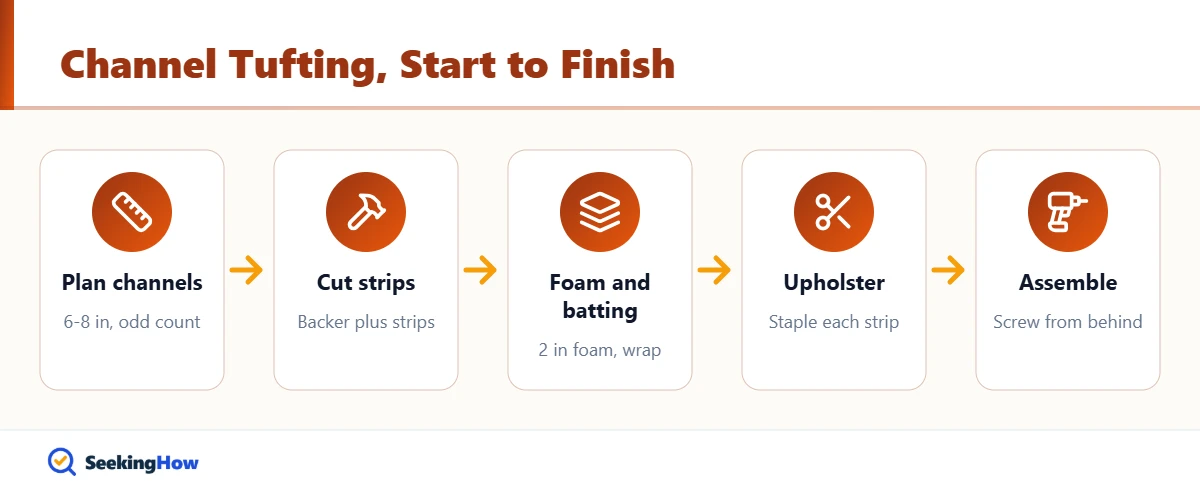
To make a channel tufted headboard, cut a plywood backer to size, rip separate strips of 1/4-inch plywood or hardboard for each channel (usually 6 to 8 inches wide), glue 2-inch foam to each strip, wrap them in batting and upholstery fabric, staple the backs, then screw the finished channels side by side onto the backer from behind. Plan on a weekend.
Key Takeaways
- Building each channel as its own wrapped panel gives the crispest, most even channel tufting at home.
- Channels 6 to 8 inches wide suit most queen and king headboards; odd channel counts look centered.
- 2-inch high-density upholstery foam plus a layer of batting gives the plump, rounded channel profile.
- Velvet and other directional fabrics must be cut so the nap runs the same direction on every channel.
- Screw channels to the backer from behind so no fasteners show on the front.
Channel tufting, the vertical rolled ribs seen on mid-century and modern beds, looks complex but is mostly repetition. This guide shows how to make a channel tufted headboard using the individual-channel method, which forgives small mistakes and needs only a circular saw, staple gun and drill. It works for any bed size.
What You’ll Need
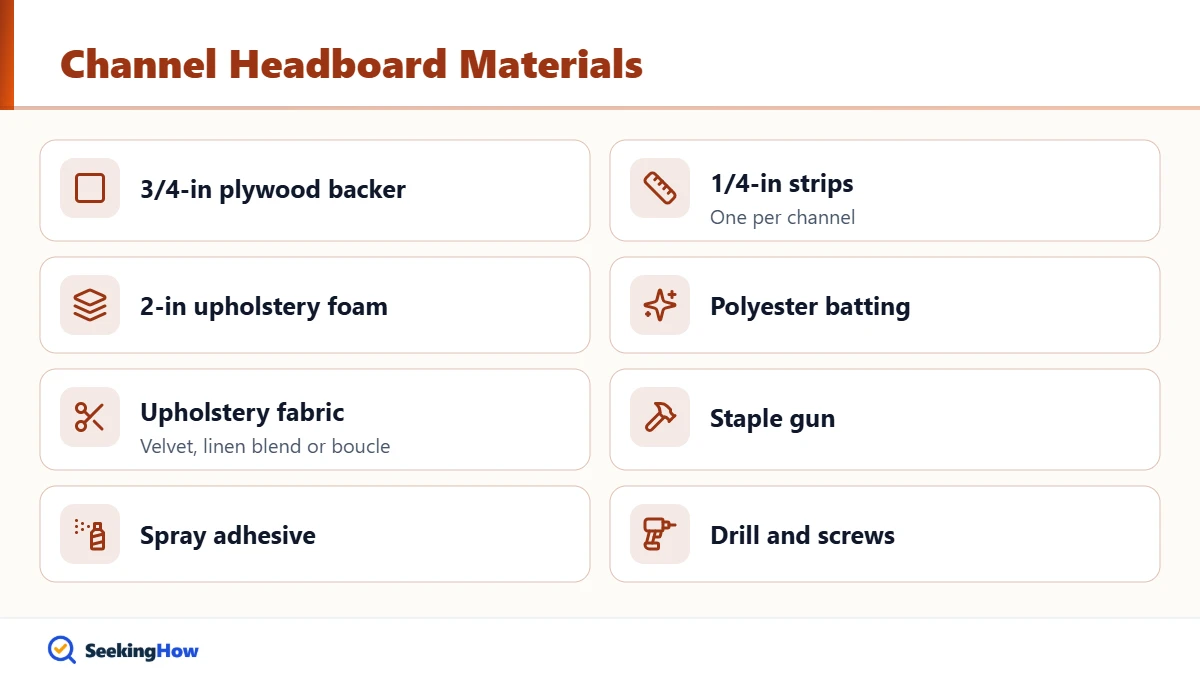
- 3/4-inch plywood or MDF for the backer, cut to finished headboard size
- 1/4-inch plywood or hardboard for channel strips
- 2-inch high-density upholstery foam (enough to cover the full face)
- Polyester batting, about 1/2 inch thick
- Upholstery fabric: velvet, performance velvet, linen blend or boucle, plus 6 inches extra per side
- Spray adhesive rated for foam
- Electric or pneumatic staple gun with 3/8-inch to 1/2-inch staples
- Circular saw or table saw, and an electric carving knife or serrated bread knife for foam
- Drill and 1-inch wood screws
- Headboard legs, bed bracket bolts or a French cleat for mounting
How To Make a Channel Tufted Headboard: Step-by-Step
Step 1: Size the Headboard and Plan the Channels
Make the headboard 2 to 4 inches wider than the mattress (queen 60 inches, king 76 inches) and decide on a height, often 24 to 30 inches of panel above the mattress. Divide the width into equal channels of 6 to 8 inches. Building for a king? Check how to make a headboard for a king size bed for sizing. In practice, an odd number such as 9 or 11 channels gives a center channel that lines up with the middle of the bed.
Step 2: Cut the Backer and Channel Strips
Cut the 3/4-inch backer to the full headboard size. Rip 1/4-inch strips to the channel width minus about 1/4 inch, so wrapped fabric thickness does not make the total too wide. Sand any splinters on the edges, which can snag fabric.
Step 3: Glue Foam to Each Strip
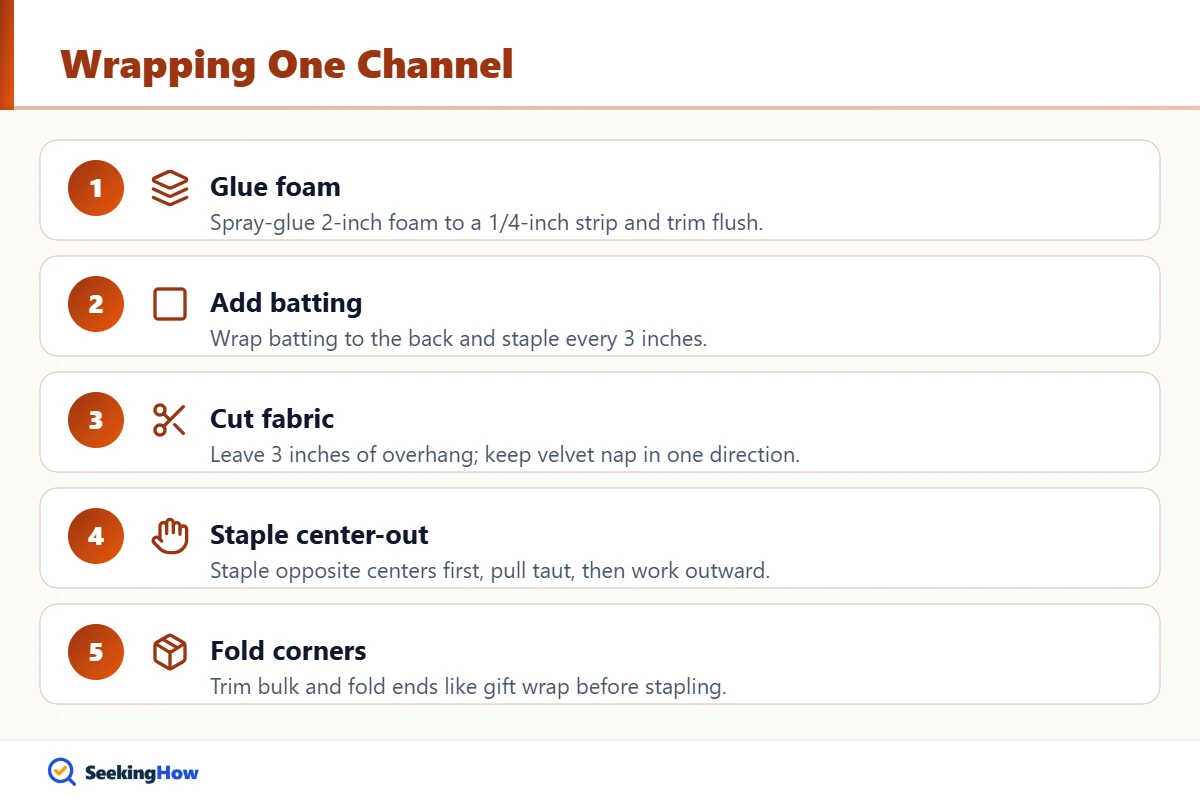
Spray adhesive on each strip and the foam, then press the foam down. Trim the foam flush with an electric carving knife. Some makers bevel the long foam edges slightly to round the channel profile.
Step 4: Wrap Each Channel in Batting
Lay batting over the foam and wrap it around to the back, stapling every 3 inches. It is the same technique used in our padded headboard guide. Batting softens the foam edges and keeps the fabric from sliding. Trim excess batting at the corners so they do not bulk up.
Step 5: Upholster Each Channel
Cut fabric pieces with 3 inches of overhang on all sides, keeping velvet nap running the same way on every piece. Staple the center of one long side, pull taut and staple the opposite center, then work outward. Fold the ends like gift-wrap corners and staple flat.
Step 6: Attach Channels to the Backer
Lay the backer face-up and position the center channel first, then add channels outward so they press snugly together. Screw through the backer into each strip from behind with two or three 1-inch screws. Check that the screw length will not poke through the 1/4-inch strip and foam.
Step 7: Finish the Back and Mount
Staple a dust cover fabric or paint the backer for a clean look. Attach legs that bolt to your bed frame brackets, or mount the headboard to wall studs with a French cleat. Stand back and adjust any channel that sits proud by loosening and re-seating its screws.
Bottom line: build each channel as its own wrapped strip, then screw them to the backer from behind for crisp, even channels.
| Method | Channel look | Difficulty | Best for |
|---|---|---|---|
| Individual wrapped strips | Crisp, deep, even | Moderate | First-timers wanting a store-bought look |
| Single panel with stapled channels | Softer, less defined | Moderate to hard | Experienced upholsterers |
| Foam tubes on a backer | Very round, rolled | Moderate | Retro styles |
If That Didn’t Work
Problem: Gaps show between channels. Cause: Strips cut too narrow or not pushed together. Fix: Loosen screws, slide channels tight from the center outward and re-screw.
Problem: Fabric puckers at the corners. Cause: Too much fabric folded at once. Fix: Trim excess fabric and batting at corners before folding, and use more staples.
Problem: Velvet channels look like different colors. Cause: Nap direction varies. Fix: Re-cover the odd channels with the nap running the same direction, usually downward.
Problem: The headboard wobbles. Cause: Thin backer or single-point mounting. Fix: Use a 3/4-inch backer and add a French cleat or second set of bolts.
Safety and When To Call a Pro
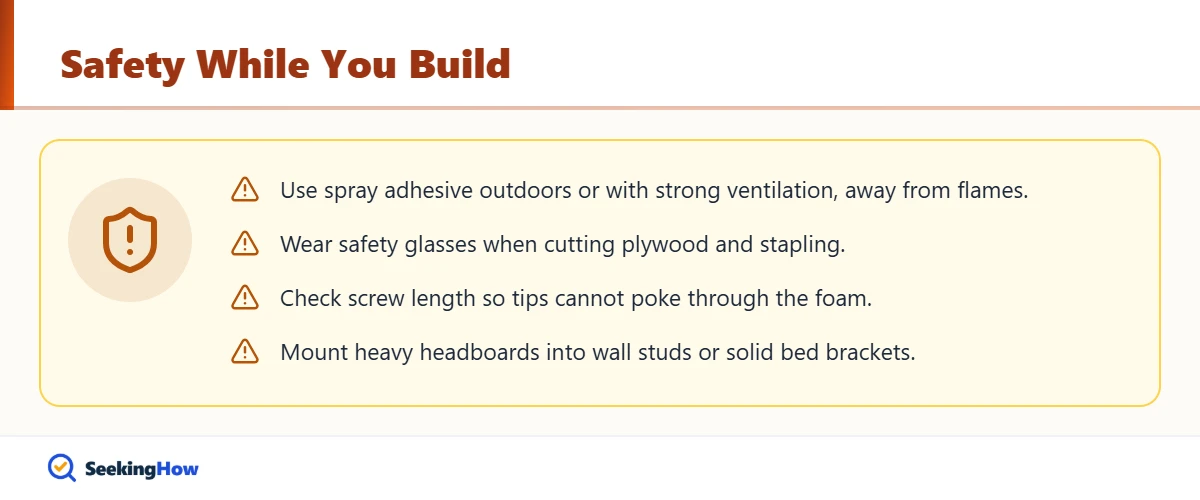
Use spray adhesive outdoors or with strong ventilation and keep it away from flames. Wear safety glasses when cutting plywood and stapling, and keep fingers clear of the staple gun nose. Choose foam and fabric that meet residential upholstered furniture flammability standards, and keep the headboard away from candles and space heaters.
Call a professional upholsterer if you want curved, scalloped or arched channel shapes, if you are working with expensive patterned fabric that needs exact matching, or if you need to mount a heavy headboard on plaster or masonry walls.
Related Guides
- How to make a padded headboard
- How to make a headboard for a king size bed
- How to make a headboard taller
- How to attach a headboard to a metal bed frame
Sources
- U.S. Consumer Product Safety Commission: upholstered furniture flammability standards (cpsc.gov)
- OSHA: hand and power tool safety (osha.gov)
- American Wood Council: wood panel and fastener basics (awc.org)
Frequently Asked Questions
How wide should channels be on a tufted headboard?
Most channel tufted headboards use channels 6 to 8 inches wide. Narrower channels around 4 to 5 inches look more tailored and work for twin or full beds, while wider channels suit king headboards. Use an odd number of channels so one sits centered on the bed.
What foam is best for a channel tufted headboard?
Two-inch high-density upholstery foam is the usual choice because it holds a rounded shape and does not flatten when you lean on it. Add a layer of polyester batting over it to soften the edges. Thicker 3-inch foam gives deeper channels but adds weight and cost.
What fabric works best for channel tufting?
Velvet and performance velvet are the classic choices because the light catches each rounded channel. Linen blends and boucle also work well. Avoid very thin or stretchy fabrics that show staples. With velvet, cut every piece so the nap runs the same direction.
How much does it cost to make a channel tufted headboard?
Costs vary widely by region, size and fabric choice. A DIY queen channel headboard usually costs well under a comparable store-bought model, with foam and fabric as the biggest expenses. Choosing budget upholstery fabric and buying foam in sheets keeps the total down.
Can I channel tuft an existing headboard?
Yes, if the existing headboard has a flat, solid face. Screw the wrapped channel strips onto it from behind or attach them to a new backer that mounts over the old headboard. Slatted or curved headboards need a new plywood backer first.
How long does it take to make a channel tufted headboard?
Most people need a full weekend, roughly 8 to 12 hours of working time, including cutting, foam gluing, upholstering every channel and assembly. Upholstering the channels takes the longest. Having a helper to hold fabric taut speeds things up.