How to Install Exhaust Fan in Bathroom Window in your bathroom window is a cost-effective way to reduce moisture, combat mold, and keep your bathroom ventilated. Learn the simple steps to ensure you have a fresher, clearer, and more breathable space.
Required Materials: How to Install Exhaust Fan in Bathroom Window
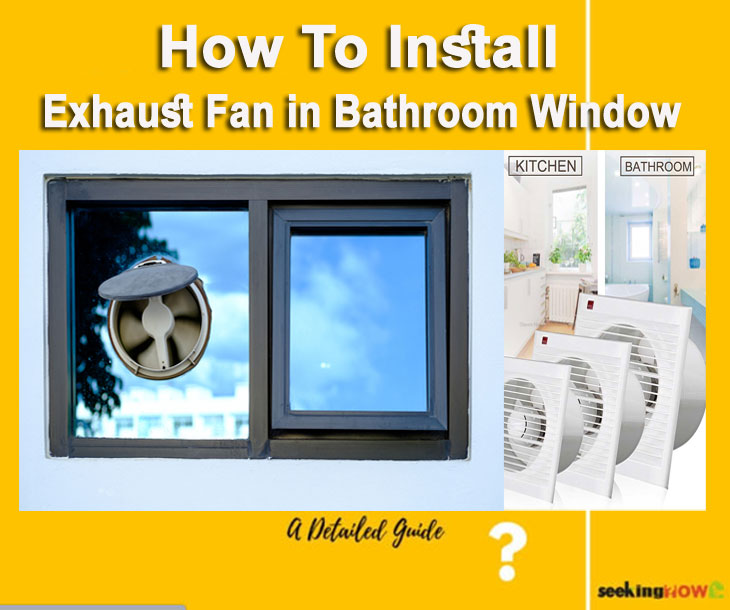
- Exhaust fan suited for window installation
- Screwdriver
- Mounting hardware (usually comes with the fan)
- Drill and bits
- Silicone sealant
- Safety goggles
- Electrical wire and wire nuts
- Wire stripper
In-Depth SEO Article: Installing A Bathroom Window Exhaust Fan
The importance of ventilation in bathrooms cannot be overstated. It prevents mold growth, reduces moisture, and maintains air quality. One effective solution is installing an exhaust fan in your bathroom window. Here’s a step-by-step guide.
1. Choose the Right Fan:
Not all exhaust fans are made equal. For windows, ensure you have a fan specifically designed for such an installation.
2. Prepare the Window:
Clean the area where the fan will be installed. Remove any obstructions. Mark the area that matches the fan size.
3. Safety First:
Before starting, turn off any associated electrical circuits. Always wear safety goggles.
4. Mount the Fan:
Place the fan in your marked area.
Secure it using the provided mounting hardware.
Drill pilot holes and screw the fan into place.
Electrical Connections:
Strip the ends of your electrical wires.
Connect the fan’s wires to your home wiring. Use wire nuts to secure the connections.
Seal the Edges: Use silicone sealant around the fan’s edges. This ensures no water leaks into your bathroom.
5. Test the Fan:
Turn on the electrical circuit and test your exhaust fan. Ensure it’s functioning properly.
Conclusion:
By following these steps, you can effectively install an exhaust fan in your bathroom window, ensuring better air quality and reducing moisture.
Who Installs Bathroom Exhaust Fans
Professional electricians and specialized contractors are the most equipped to install bathroom exhaust fans. It’s vital to ensure proper installation to avoid electrical hazards and to ensure the fan operates efficiently. A qualified professional will have the necessary tools, expertise, and experience to handle different fan models and to adapt the installation to the specific conditions of each bathroom.
Frequently Asked Questions Of How To Install Exhaust Fan in Bathroom Window
Does a bathroom need an exhaust fan if it has a window?
While a window can provide some ventilation, an exhaust fan is more effective at removing moisture and odors quickly. It’s especially important in climates or seasons where opening a window might not be practical due to cold or rain. While it’s not always mandatory to have an exhaust fan if there’s a window, it’s highly recommended for maintaining a mold-free and fresh bathroom environment.
Can a bathroom exhaust vent be over a window?
Ideally, a bathroom exhaust vent should not be positioned directly over a window, as the moisture being expelled can lead to condensation and potential damage to the window frame and sill. Additionally, if the window is open, it might allow the moist air to re-enter the bathroom. When placing an exhaust vent, it’s best to direct it away from windows to ensure effective ventilation.
How do you fit a window exhaust fan?
Fitting a window exhaust fan involves the following general steps:
Measure and mark the space on your window where the fan will sit.
Cut or adjust the window pane or frame, if necessary, to fit the fan.
Secure the fan into place using mounting brackets or screws, ensuring it’s snug and air-tight.
Connect the fan to a power source, either by plugging it in or hardwiring it.
Seal the edges with a weatherproof sealant to prevent water from entering.
Test the fan to ensure it’s working properly.
How are bathroom exhaust fans installed?
Installing a bathroom exhaust fan typically involves these steps:
Turn off the electricity to your bathroom for safety.
Determine the location for the fan, ideally between two joists.
Cut a hole in the bathroom ceiling based on the fan’s dimensions.
Install the fan’s housing with screws into the joists.
Connect the fan to the ductwork that leads outside, securing the connection.
Wire the fan to the bathroom’s electrical system.
Attach the fan grille to the bathroom ceiling.
Restore electricity and test the fan’s functionality
How To Vent A Bathroom Fan Through the Wall
Venting a bathroom fan through the wall is a practical solution when roof venting is not feasible. The process involves creating a duct system that directs the moist air from the bathroom to the outdoors.
- Choosing the Right Location: Always vent to the shortest possible distance to the outside. Avoid areas like patios or windows.
- Drilling an Outlet Hole: Mark the location and drill a hole using a hole saw. Make sure it’s sized appropriately for the duct.
- Installing the Duct: Attach the duct to the fan and run it through the hole to the outside.
- External Vent Cover: Attach a vent cover outside to prevent rain, pests, and cold drafts from entering.
- Sealing the Duct: Use a sealant to ensure there are no air leaks.
Replacing Exhaust Fan in Bathroom
Over time, bathroom exhaust fans can become noisy, inefficient, or entirely non-functional. Replacing them ensures a healthy bathroom environment.
- Safety First: Always turn off the electricity.
- Remove the Old Fan: Unscrew the old fan, disconnect the electrical connections, and carefully remove it.
- Size Matters: Ensure the new fan fits the existing space or be prepared to adjust the hole.
- Installation: Follow manufacturer instructions, connect the electrical wires, and screw the fan into place.
- Test: Turn on the power and ensure the fan operates correctly.
How To Replace A Bathroom Exhaust Fan Without Attic Access
Replacing a bathroom exhaust fan without attic access might seem daunting, but with the right approach, it’s manageable.
Step-by-step guide
- Safety: Always start by turning off the electricity to the fan.
- Remove the Old Fan Cover: Pry off or unscrew the fan cover. Clean the area around it.
- Unplug and Unscrew the Old Fan: Most fans are plugged into a receptacle inside the housing. Unplug it and then unscrew it from the housing.
- Remove the Old Housing: If the housing is too large to be removed through the hole, you might need to cut it into pieces for removal.
- Install the New Housing: Secure the new housing in place. If the new fan is larger, you might need to enlarge the hole.
- Wire the New Fan: Connect the fan’s wires to your bathroom’s electrical system.
- Secure the New Fan: Screw the new fan into the housing, plug it in, and attach the new cover.
- Test the New Fan: Turn back on the electricity and ensure your fan works properly.
Conclusion: Replacing a bathroom exhaust fan without attic access requires patience and precision but can be achieved with the right tools and approach.