Quick Answer
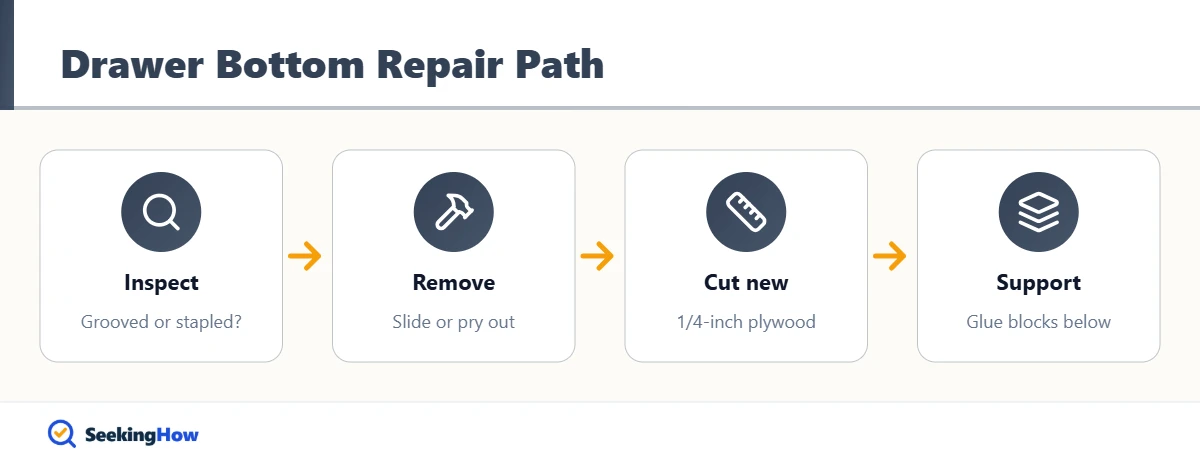
To fix a broken drawer bottom, remove the drawer, slide or pry out the damaged panel, and cut a replacement from 1/4-inch plywood or 1/8-inch hardboard to fit the grooves. Slide it in, secure the back edge with small screws or brads, and add glue blocks underneath for support. The repair takes about an hour with a saw and drill.
Key Takeaways
- Most drawer bottoms either slide into grooves in the drawer sides or are stapled to the bottom edges.
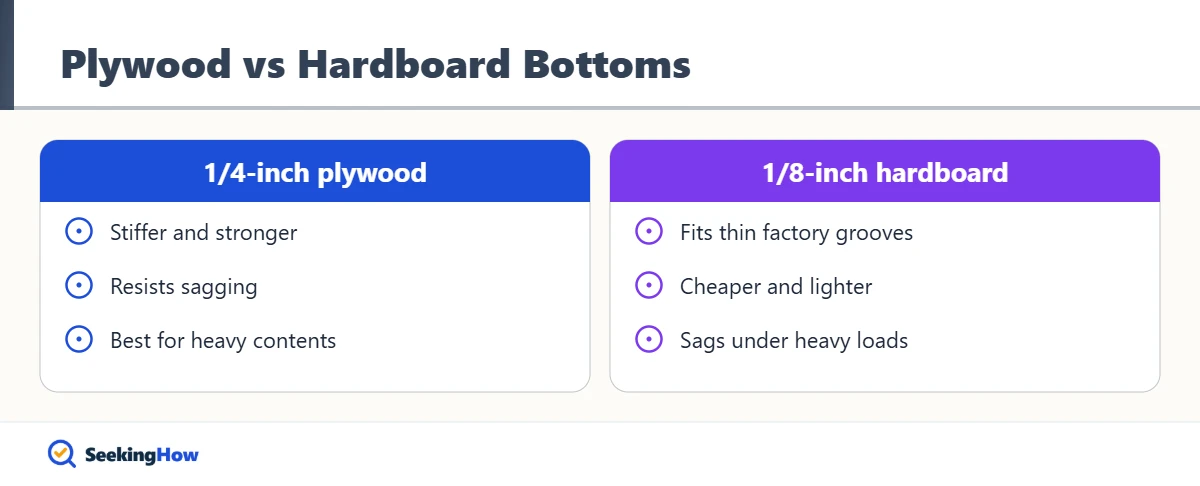
- A 1/4-inch plywood replacement is stronger than the 1/8-inch hardboard used in many factory drawers.
- Size a grooved bottom to the groove-to-groove distance minus about 1/16 inch so it slides in without binding.
- Glue blocks or a center support strip under the bottom stop sagging from heavy loads.
- A drawer bottom that has only popped out of its groove can often be reseated without replacement.
- Particle board drawer sides that have crumbled around staples need reinforcing strips before the new bottom will hold.
A drawer bottom usually fails in one of three ways: it sags and pops out of its groove, it cracks under weight, or the staples holding it pull out of crumbly particle board. This guide shows how to fix a broken drawer bottom for each type, with a full replacement that will outlast the original.
What You’ll Need
- Replacement panel: 1/4-inch plywood (preferred) or 1/8-inch hardboard
- Tape measure, square, and pencil
- Circular saw, table saw, or jigsaw (or have the store cut the panel)
- Hammer, flat pry bar, and pliers for removing nails or staples
- Drill/driver with a countersink bit
- #6 x 5/8-inch flat-head wood screws or 5/8-inch brads
- Wood glue
- Scrap wood for glue blocks or a 1 x 2 center support strip
- Sandpaper (120 grit)
- Safety glasses
How To Fix a Broken Drawer Bottom: Step-by-Step
Step 1: Remove and empty the drawer
Empty the drawer completely and pull it out of the dresser or cabinet. Flip it upside down on a padded surface. Seeing the underside tells you immediately how the bottom is attached.
Step 2: Identify the bottom type and damage
If the bottom panel sits in a groove cut into the sides and front, it is a captured or sliding bottom, usually held at the back with a nail or screw. If it is stapled or nailed flat to the bottom edges of the drawer box, it is an applied bottom, common on particle board furniture. A bottom that has merely slipped out of its groove with no cracks can simply be pushed back and secured.
Step 3: Remove the old bottom
For a grooved bottom, pull the nails or screws at the back edge and slide the panel out toward the back. Some drawers have a back that sits above the groove for exactly this purpose. For an applied bottom, pry out staples with a flat bar and pliers, working gently so you do not tear chunks out of particle board sides.
Step 4: Measure and cut the new panel
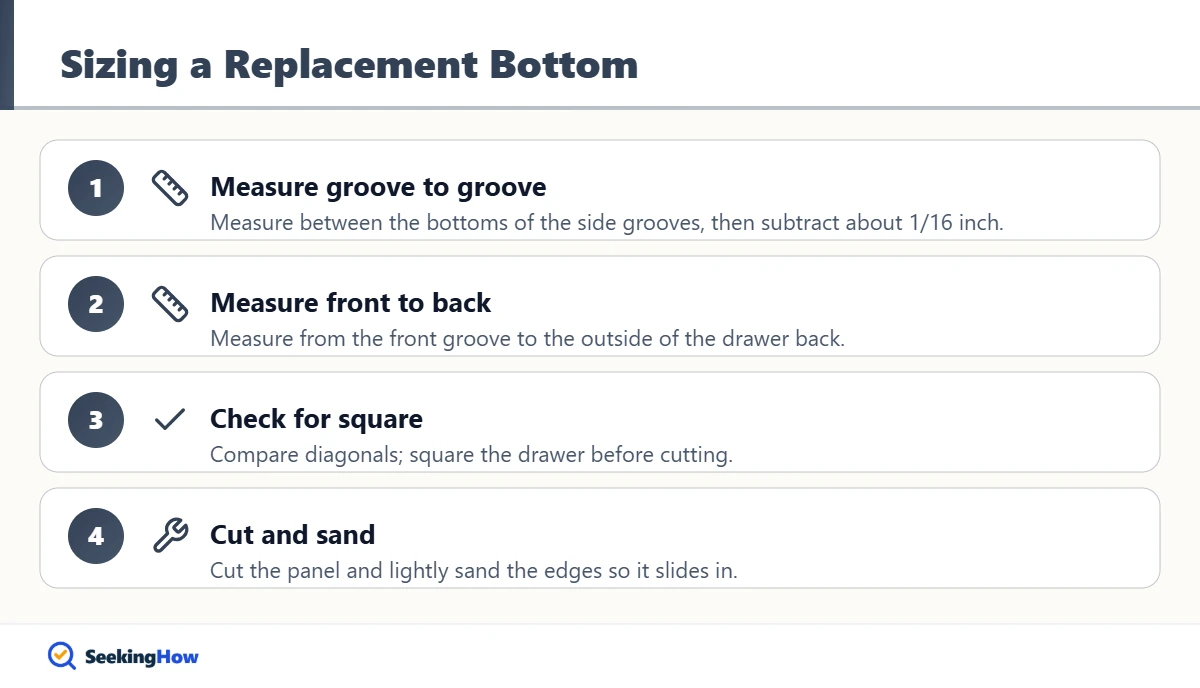
For a grooved bottom, measure between the bottoms of the grooves side to side and from the front groove to the back edge, then subtract about 1/16 inch from the width. For an applied bottom, measure the outside of the drawer box. Check that the drawer is square by measuring diagonals before cutting, and square it up if needed.
Step 5: Install the new bottom
Slide the new panel into the grooves, or glue and fasten an applied bottom with brads or screws every 4 to 6 inches. Secure a grooved panel at the back with two or three small screws through the panel into the drawer back. In practice, most people find a square new bottom also pulls a loose drawer box back into shape.
Step 6: Add support underneath
Glue small wood blocks along the joint between the bottom and the sides every 6 to 8 inches, or screw a 1 x 2 strip front to back under the center of wide drawers. This support keeps the bottom from sagging and popping out again. Make sure any center strip does not hit the dresser’s center guide or frame.
Bottom line: Replace a cracked or sagging bottom with 1/4-inch plywood and add support underneath; reseat it if it only slipped out.
Quick Fix for a Cracked Bottom
If you cannot replace the bottom right away, glue a thin plywood patch underneath the crack with wood glue, clamp or weight it for a few hours, and add a few short screws through the patch. It is not as strong as a full replacement but can buy months of use for lightweight contents. The same reinforcing idea is used to fix a broken bed slat.
If That Didn’t Work
Problem: Staples will not hold in the drawer sides. Cause: Crumbled particle board edges. Fix: Glue 1/2 x 1/2-inch wood strips along the inside bottom edges and fasten the new bottom to those strips.
Problem: The new panel will not slide into the grooves. Cause: Panel slightly too large or thick. Fix: Trim 1/32 inch from the edges or sand the panel edges to a slight bevel.
Problem: The drawer now rubs the dresser. Cause: Support strip or screw heads sticking out underneath. Fix: Countersink screws and shift or thin the support strip.
Problem: The drawer box keeps coming apart. Cause: Failed corner joints or water-swollen particle board. Fix: Reglue the corners, add corner blocks, and repair swelling as in repairing particle board water damage.
| Repair | Time | Cost | Best for |
|---|---|---|---|
| Reseat and secure | 15 minutes | Free | Bottom slipped out, no cracks |
| Patch underneath | 30 minutes | Low | Small crack, light loads |
| Replace with 1/4-inch plywood | About 1 hour | Low | Cracked, sagging, or missing bottoms |
| Add glue blocks or center strip | 20 minutes | Free to low | Preventing future sagging |
Safety and When To Call a Pro
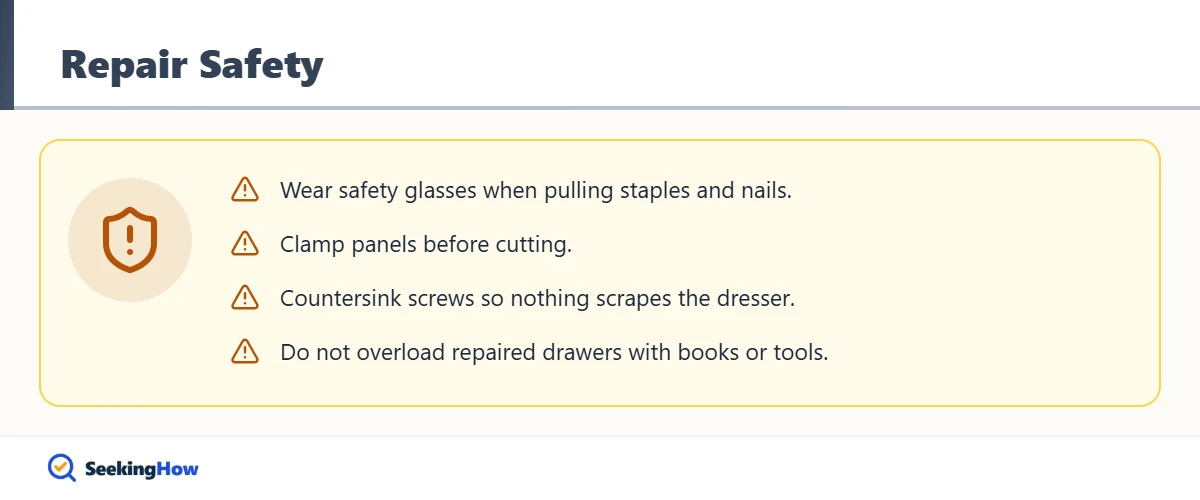
Wear safety glasses when pulling staples and nails, which can fly out, and when cutting panels. Clamp the panel when sawing so it does not shift into the blade.
Consult a furniture restorer for antique drawers with solid-wood bottoms that are beveled into grooves; their original bottoms can often be reglued or repaired rather than replaced, preserving value. Also have a pro look at dressers where several drawers are failing because the case itself is damaged.
Prevention Tips
- Do not overload drawers with heavy items like books or tools.
- Keep heavier items toward the sides, not the center of the bottom.
- Close drawers gently; slamming loosens bottoms and joints.
- Keep drawers dry; spills weaken hardboard and particle board.
Related Guides
- How to fix a broken bed slat
- How to repair particle board water damage
- How to stabilize a wobbly cabinet
- How to remove a stripped screw from wood
Sources
- APA – The Engineered Wood Association: plywood panel types and grades
- OSHA: hand and power tool safety
Frequently Asked Questions
What material is best for a drawer bottom?
Quarter-inch plywood is the best all-around material for a replacement drawer bottom. It is stiff, light, and resists sagging better than hardboard. Use 1/8-inch hardboard only when the drawer grooves are too narrow for plywood, and add support blocks underneath if the contents are heavy.
How do I get a drawer bottom out?
For a grooved bottom, remove the nails or screws at the back edge and slide the panel out through the back of the drawer. For a stapled bottom, pry the staples out with a flat bar and pliers. Work gently to avoid tearing chunks from particle board sides.
Can I fix a drawer bottom without removing the drawer?
You can sometimes push a slipped bottom back into its groove without removing the drawer, but a proper repair needs the drawer out and upside down. Removing it lets you see the damage, add support blocks, and fasten the bottom securely so it does not fall again.
How do I stop a drawer bottom from sagging?
Stop a drawer bottom from sagging by gluing small wood blocks along the joint between the bottom and sides, or screwing a 1 x 2 strip front to back under the center. Replacing thin hardboard with 1/4-inch plywood also adds stiffness. Keep heavy items near the sides.
Can I use hot glue to fix a drawer bottom?
Hot glue is not a reliable fix for a drawer bottom. It can hold a panel temporarily, but it softens with heat and lets go under weight. Use wood glue with brads or small screws, plus support blocks, for a repair that lasts.
What size screws should I use on a drawer bottom?
Use #6 flat-head wood screws about 5/8 inch long for most drawer bottoms. They are long enough to grip the drawer back or support strips without poking through. Pre-drill and countersink so the heads sit flush and do not scrape the dresser runners.
Why does my drawer bottom keep falling out?
A drawer bottom keeps falling out when the panel is too thin for the load, the back fastener is missing, or particle board around staples has crumbled. Secure the back edge with screws, add glue blocks, and reinforce crumbled edges with wood strips before refastening.