
Quick Answer
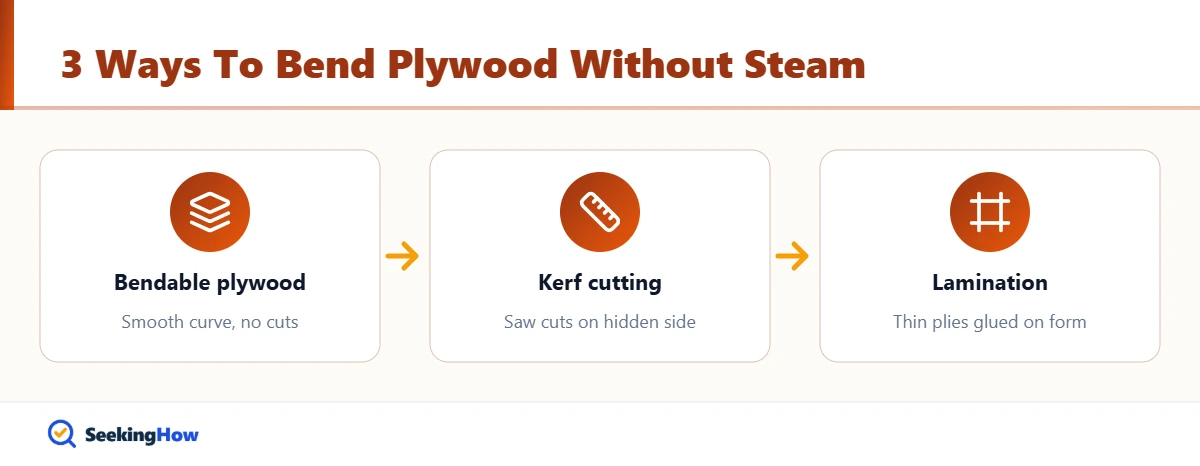
To bend plywood without steam, use bendable (flexible) plywood, kerf-cut standard plywood on a table saw, or laminate thin 1/8-inch sheets over a curved form with wood glue. Kerfing takes about an hour and a form. Keep at least 1/16 inch of face veneer uncut, or the panel will crack.
Key Takeaways
- Bendable plywood is the easiest way to get a smooth curve with no steam, no cuts, and no soaking.
- Kerf cuts should go about 3/4 of the way through the panel, leaving a thin, unbroken face.
- Closer kerf spacing produces a tighter radius; wider spacing produces a gentler curve.
- Laminating two or three thin plies over a form gives the strongest curve and holds its shape after the glue cures.
- Thinner plywood bends far more easily than thick plywood; 3/4-inch sheets barely flex at all without kerfing.
- Bend plywood across the face grain when possible, because it flexes much more easily that way.
Steam boxes work well for solid hardwood, but plywood’s glue layers and cross-grain plies make steaming slow and unpredictable. This guide shows how to bend plywood without steam using three dry-shop methods, explains which one to pick for your curve, and covers the fixes when a panel cracks or springs back.
What You’ll Need
- Plywood: bendable plywood (often sold as bending ply, flexible plywood, or “wiggle wood”) in 1/4, 3/8, or 1/2 inch, or standard plywood for kerfing
- For lamination: two to four sheets of 1/8-inch (3 mm) plywood or door skin
- Table saw or circular saw with a straightedge guide (for kerfing)
- Curved form: stacked 3/4-inch MDF or plywood ribs cut to the inside radius
- PVA wood glue (Titebond II or III), or slow-set epoxy for outdoor work
- Clamps: 6 to 12 bar clamps or spring clamps, plus ratchet straps for long panels
- Glue roller or notched spreader
- Packing tape or wax paper to keep glue off the form
- Wood filler or thin veneer to cover kerfs (optional)
- Safety glasses, hearing protection, and push sticks
How To Bend Plywood Without Steam: Step-by-Step (Kerf Method)
Kerf bending is the go-to method when you already have standard plywood and the inside of the curve will be hidden, such as a curved cabinet back, bar front, or arched header.
Step 1: Build the curved form
Draw the inside radius of the curve on 3/4-inch MDF with a trammel or a string and pencil, then cut two or more ribs on a band saw or jigsaw. Space the ribs no more than 12 inches apart and tie them together with cross pieces. A form that is slightly undersized will cause flat spots, so sand the edges fair before you bend anything.
Step 2: Set the kerf depth
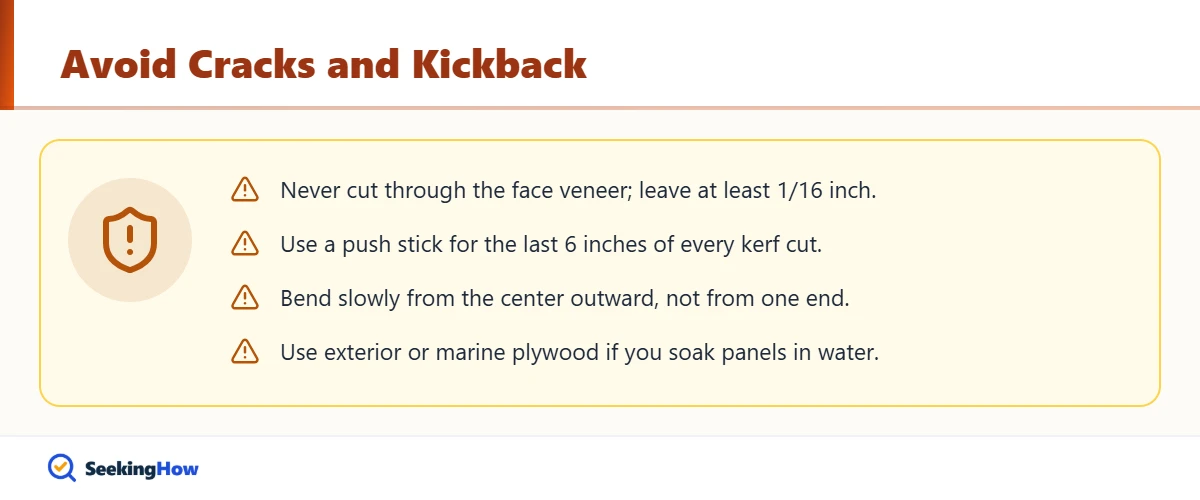
Set the saw blade to cut about 3/4 of the panel thickness, leaving roughly 1/16 to 1/8 inch of uncut material on the show face. Test the depth on a scrap of the same sheet first. The most common mistake is cutting too deep, which breaks through the face veneer and leaves a visible line or a crack.
Step 3: Find the kerf spacing
Cut a single kerf in a scrap, clamp one side of the scrap flat to the bench, and lift the free end until the kerf closes. The distance the free end rises, measured at the radius you want, equals the spacing between kerfs. In practice, most people find spacings of 1/2 to 1 inch work for furniture-scale curves, with tighter spacing for tighter bends.
Step 4: Cut the kerfs
Cut every kerf across the direction of the bend, keeping them parallel and evenly spaced with a stop block or marked fence. Uneven spacing produces a faceted curve rather than a smooth one. Use a push stick and keep hands clear of the blade, because thin kerfed panels flex and can pinch.
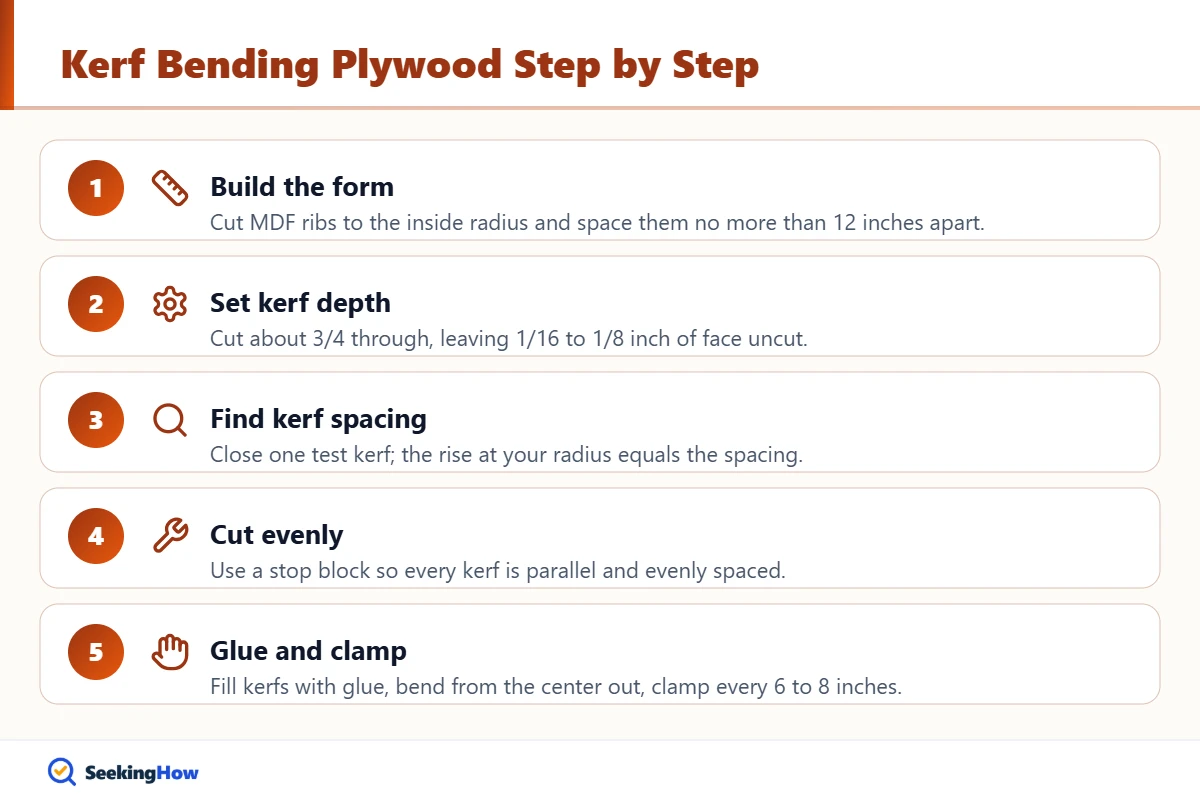
Step 5: Glue and bend over the form
Brush or roll glue into the kerfs, then bend the panel over the form slowly, starting from the middle and working outward. Clamp or strap it every 6 to 8 inches. The glue in the kerfs locks the curve once cured, so the panel holds its shape off the form.
Step 6: Let it cure and finish the face
Leave the panel clamped for at least 24 hours with PVA glue. Remove it, sand the face lightly, and cover the kerf side with a thin veneer, door skin, or fabric if it will be seen. Expect a small amount of springback, usually less than with dry-bent panels.
Method 2: Laminate Thin Plywood Over a Form
Lamination is the strongest no-steam method and the best choice for tight curves that must carry load, like chair backs, curved shelves, or arch trim.
- Cut two to four strips of 1/8-inch plywood slightly oversize.
- Cover the form with packing tape so glue will not stick.
- Roll an even coat of glue on the mating faces, leaving the outer faces dry.
- Stack the plies, set them on the form, and clamp from the center outward, ideally with a matching outer caul.
- Leave clamped 24 hours, then trim the edges flush.
Because several thin layers share the bend, the finished part springs back very little. For more curved-wood project ideas, see our guide on how to make curved wood arches.
Method 3: Use Bendable Plywood or Soak Thin Panels
Bendable plywood is the easiest choice for a smooth, uncut curve. It is made with a thin cross-band core so the whole panel flexes in one direction, and it is available in “long grain” and “cross grain” versions. Choose the version whose flexible direction matches your curve, screw or glue it to ribs spaced closely enough to avoid flat spots, and you are done.
For thin standard plywood (1/4 inch or less), wetting is a workable steam-free option. Soak hot water into towels laid over the panel for an hour or two, bend it gently onto the form, and let it dry fully in the clamps. This works on the same principle as straightening wood with water, but repeated soaking can weaken interior-grade glue lines, so use exterior-grade or marine plywood when you can.
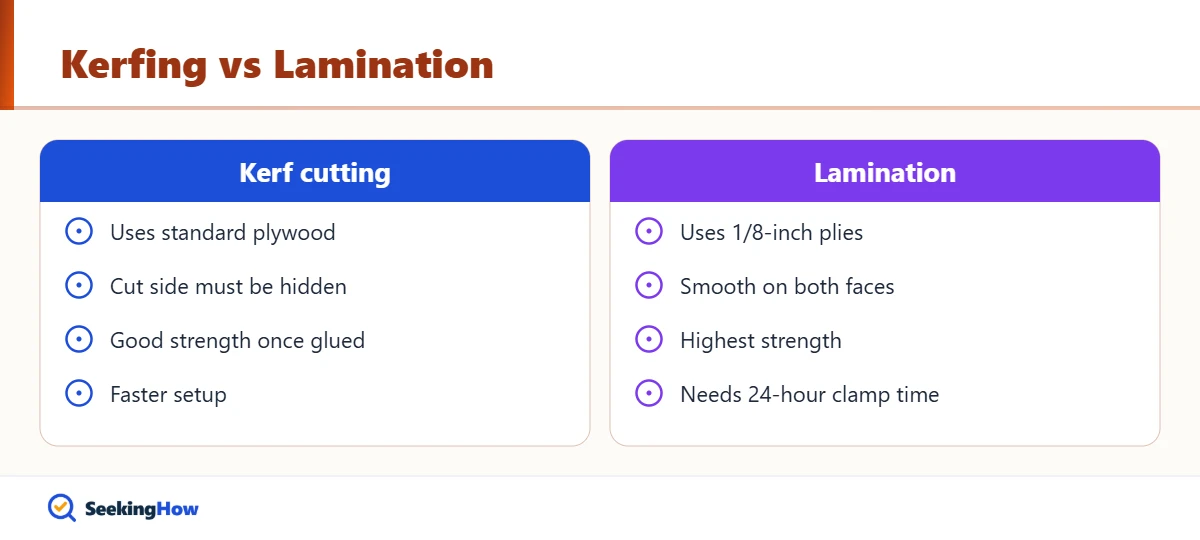
Bottom line: Use bendable plywood for smooth visible curves, lamination for strong or tight curves, and kerfing only when the cut side will be hidden.
If That Didn’t Work
Problem: The face cracked along a kerf. Cause: Kerfs cut too deep or bent too fast. Fix: Leave at least 1/16 inch of face and bend slowly from the center out; patch minor cracks with filler before veneering.
Problem: The curve looks faceted. Cause: Kerf spacing too wide or uneven. Fix: Halve the spacing and use a stop block so every cut lands at the same interval.
Problem: The laminated part sprang open after unclamping. Cause: Too few plies or glue not fully cured. Fix: Add one more thin ply and leave it clamped a full 24 hours.
Problem: Plies separated after soaking. Cause: Interior glue weakened by water. Fix: Switch to exterior or marine plywood, or use lamination instead.
Problem: The panel will not reach the form at all. Cause: Plywood too thick for the radius. Fix: Use thinner stock, bend across the face grain, or switch to kerfing.
| Method | Time | Difficulty | Strength | Best for |
|---|---|---|---|---|
| Bendable plywood | Under 1 hour | Easy | Moderate (needs ribs) | Smooth visible curves, bar fronts |
| Kerf cutting | 1 to 2 hours plus cure | Moderate | Good once glued | Hidden-side curves using standard sheets |
| Lamination | 2 hours plus 24-hour cure | Moderate | Highest | Tight or load-bearing curves |
| Hot-water soak | 2 hours plus drying | Easy | Low to moderate | Gentle curves in thin panels |
Safety and When To Call a Pro
Kerfing involves dozens of repetitive table saw cuts, so use the blade guard or riving knife where possible, a push stick for the last 6 inches of each cut, and never reach over a spinning blade. Thin flexible panels can lift and kick back if they bow into the blade.
Call a cabinetmaker or millwork shop if the curve is structural (stair parts, curved walls carrying load), needs a radius tighter than your plywood can reach without cracking, or must be finish-grade on both faces. Shops with vacuum presses can laminate compound curves that are hard to clamp at home.
Prevention Tips
- Always test kerf depth and spacing on an offcut from the same sheet before cutting the real panel.
- Store bent parts on their form or a flat surface until installed to prevent the curve from relaxing.
- Seal curved plywood on all faces so moisture changes do not pull the curve out of shape.
- Mark the bending direction on bendable plywood the moment you buy it; the two versions look identical.
Related Guides
- How to make curved wood arches
- How to straighten warped wood with water
- How to make a box spring out of plywood
- How to build free-standing wooden steps
Sources
- APA – The Engineered Wood Association: plywood panel construction and bending guidance
- USDA Forest Products Laboratory: Wood Handbook, bending and laminating wood
- OSHA: woodworking machinery and table saw safety
Frequently Asked Questions
Can you bend 3/4-inch plywood without steam?
Yes, but only by kerf cutting or by replacing it with laminated thin plies. A solid 3/4-inch sheet barely flexes because its many cross-grain layers resist bending. Kerfing removes most of the thickness so the thin face can curve, and gluing the kerfs afterward restores much of the stiffness.
What is the easiest way to bend plywood?
Bendable plywood is the easiest way, because it flexes by hand with no cuts, soaking, or steam. Buy the version whose flexible direction matches your curve, fasten it to closely spaced ribs, and the shape is set. It costs more per sheet than standard plywood but saves hours of layout and cutting.
How deep should kerf cuts be to bend plywood?
Kerf cuts should go about three-quarters of the way through the plywood. Leave roughly 1/16 to 1/8 inch of uncut material on the show face. Deeper cuts risk cracking through the veneer, while shallower cuts make the panel too stiff to bend to a tight radius.
Does soaking plywood in water help it bend?
Yes, soaking helps thin plywood bend a little more, but it is less reliable than kerfing or lamination. Water softens the wood fibers, yet it can also weaken interior-grade glue lines and cause delamination. Use exterior or marine plywood, wet it with hot towels rather than full immersion, and dry it fully on the form.
Which direction does plywood bend best?
Plywood usually bends more easily across the face grain, meaning the bend line runs parallel to the face grain direction. Most sheets have an odd number of plies with face grain running the long way, so bending around the short dimension is often easier. Test a scrap before committing.
How long should glued bent plywood stay clamped?
Glued bent plywood should stay clamped for at least 24 hours with standard PVA wood glue. Removing it sooner lets the curve spring open before the glue reaches full strength. Cold shops slow curing, so add extra time if the room is below about 60 degrees Fahrenheit, and follow the glue label.
Can I use a heat gun to bend plywood?
A heat gun is not a good way to bend plywood. Dry heat can scorch the veneer and soften or break down the adhesive between plies without making the wood flexible enough to curve evenly. Use bendable plywood, kerfing, or thin laminations instead for predictable results.