Quick Answer
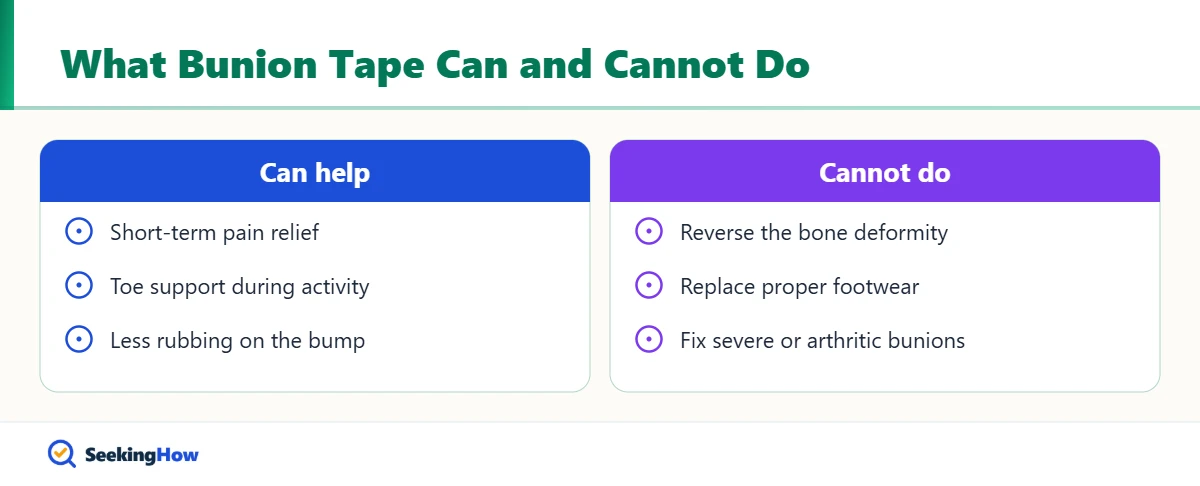
To tape a bunion with kinesiology tape, clean and dry the foot, anchor a strip with no stretch on top of the big toe, gently guide the toe toward straight, and lay the strip along the inside of the foot with light 15 to 25 percent stretch. Add a second strip over the bump. Kinesiology tape eases bunion pain short term but does not reverse the deformity.
Key Takeaways
- Kinesiology tape can reduce bunion discomfort and support the big toe, but it cannot realign the bone permanently.
- Anchors at each end of a strip go on with zero stretch; only the middle gets light tension.
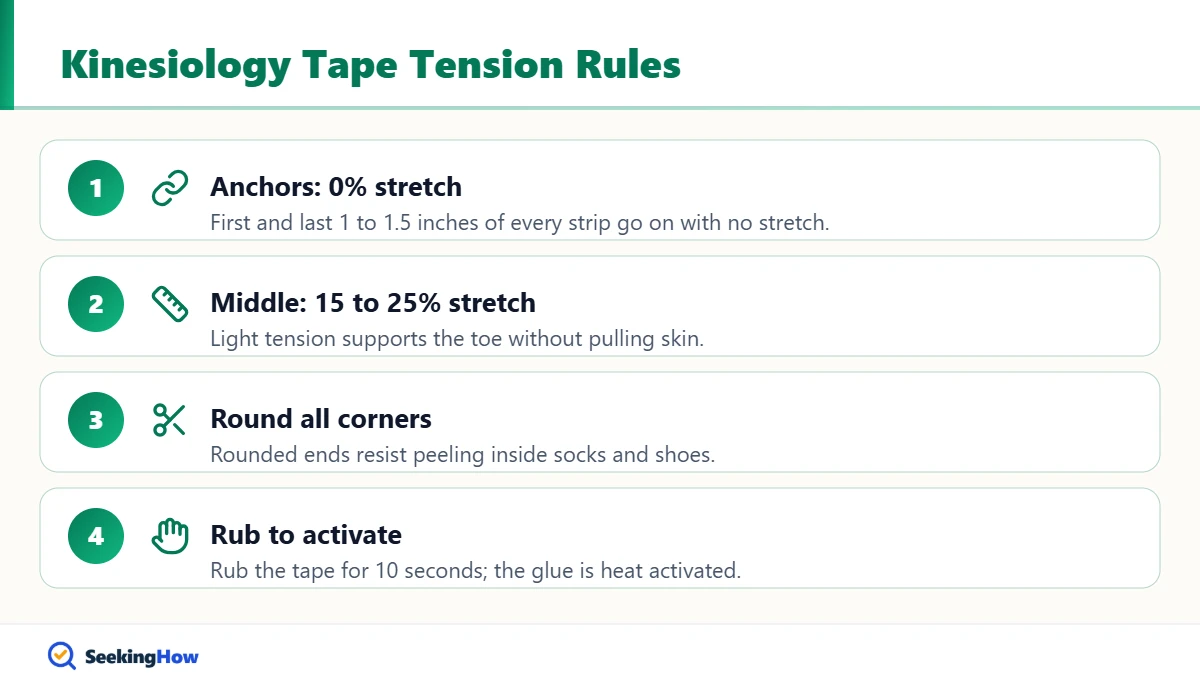
- Round the corners of every strip so the tape does not peel at the edges inside socks.
- One application usually lasts 3 to 5 days, including showers.
- Stop taping if you notice itching, blisters, or redness, and avoid taping over broken skin.
- People with diabetes, neuropathy, or poor circulation should ask a podiatrist before taping their feet.
A bunion is a bony bump at the base of the big toe that forms as the toe angles toward the second toe. This guide shows how to tape a bunion with kinesiology tape in about 10 minutes, what results to expect, and how taping fits with shoes, pads, and other treatment.
What You’ll Need
- Kinesiology tape, 2 inches (5 cm) wide
- Sharp scissors
- Rubbing alcohol or soap and water
- Towel
- Hair trimmer for the top of the toes (optional)
- Baby oil or cooking oil for removal
- Gel bunion pad or toe spacer (optional)
How To Tape a Bunion With Kinesiology Tape: Step-by-Step
Step 1: Clean and Dry the Foot
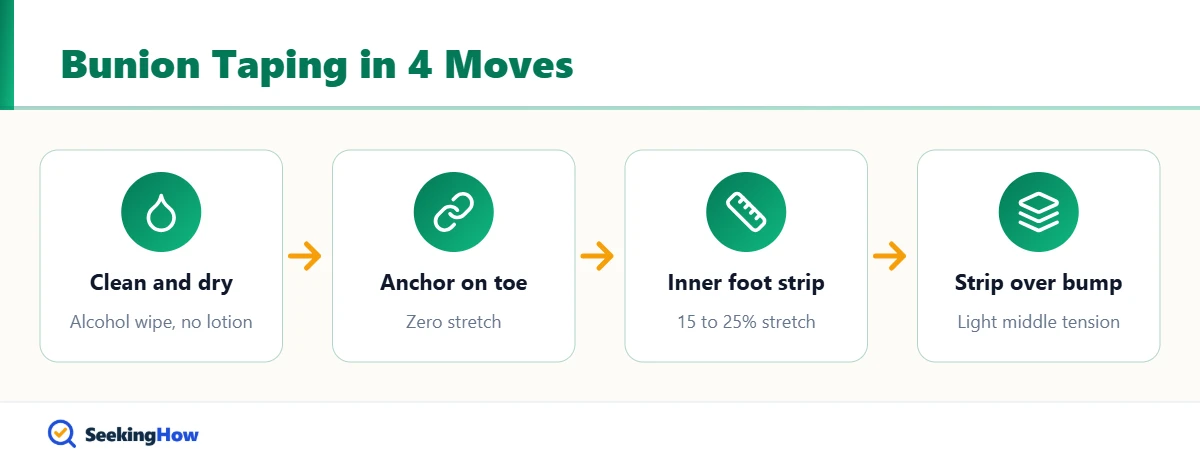
Wash the foot, wipe the area with rubbing alcohol, and let it dry completely. Lotion, oil, and sweat stop the adhesive from bonding. Apply tape at least 30 minutes before exercise or a shower so the glue can set.
Step 2: Measure and Cut Two Strips
Cut one strip long enough to run from the top of the big toe, around the inner side of the toe, and along the inside edge of the foot to just below the ankle bone, usually 7 to 9 inches. Cut a second strip about 4 inches long. Round every corner with scissors, because square corners catch on socks and peel.
Step 3: Anchor the First Strip on the Big Toe
Tear the backing near one end and press a 1 to 1.5 inch anchor onto the top of the big toe with no stretch. Wrap the anchor partway around the toe toward the inner side. The common mistake is stretching the anchor, which pulls on the skin and causes irritation.
Step 4: Guide the Toe and Apply Light Tension
Gently move the big toe toward a straighter position, only as far as is comfortable. Peel the backing and lay the strip along the inside of the foot with light stretch, about 15 to 25 percent of the tape’s full stretch. Finish the last 1 to 1.5 inches with no stretch below the ankle bone, then rub the tape for 10 seconds to warm the glue.
Step 5: Add a Strip Over the Bunion
Center the second, shorter strip over the bump, with light stretch in the middle and no stretch on either end. Some people cut a small hole in the center so the tape does not press directly on a tender bump. Most people find this second strip reduces rubbing inside the shoe.
Step 6: Check Comfort and Circulation
Walk around for a few minutes. The tape should feel supportive, not tight. If the toe tingles, throbs, turns pale, or feels numb, remove the tape and reapply with less tension.
Step 7: Wear It 3 to 5 Days, Then Remove Gently
Pat the tape dry after showers instead of rubbing it. To remove, soak the tape with baby oil for a few minutes, then peel slowly in the direction of hair growth while pressing the skin down. Give your skin a break of at least several hours before reapplying.
Bottom line: use two strips with zero-stretch anchors and light middle tension for short-term comfort, and pair taping with roomy shoes for real relief.
If That Didn’t Work
Problem: The tape peels off within a day. Cause: Oily skin, square corners, or tape applied right before activity. Fix: Clean with alcohol, round corners, and apply 30 minutes before you move.
Problem: Skin is itchy or red under the tape. Cause: Adhesive sensitivity or too much stretch. Fix: Remove it, let skin recover, and try a hypoallergenic tape with less tension.
Problem: Pain is no better with tape. Cause: Tight shoes or a more advanced bunion. Fix: Switch to wide toe box shoes, add a gel pad, and see a podiatrist.
Problem: Smaller toes are also curling. Cause: Hammertoes often develop with bunions. Fix: See our guide on how to fix hammertoe with tape.
Bunion Relief Options Compared
| Option | Cost | Effect | Best for |
|---|---|---|---|
| Wide toe box shoes | Moderate | Removes pressure all day | Everyone with a bunion, best first step |
| Kinesiology tape | Low | Short-term support and comfort | Active days, sports |
| Gel bunion pad | Low | Cushions the bump | Rubbing in shoes |
| Toe spacer or night splint | Low | Temporary toe positioning | Rest and sleep |
| Surgery | High | Corrects the bone alignment | Severe pain despite other care |
Safety and When To See a Doctor
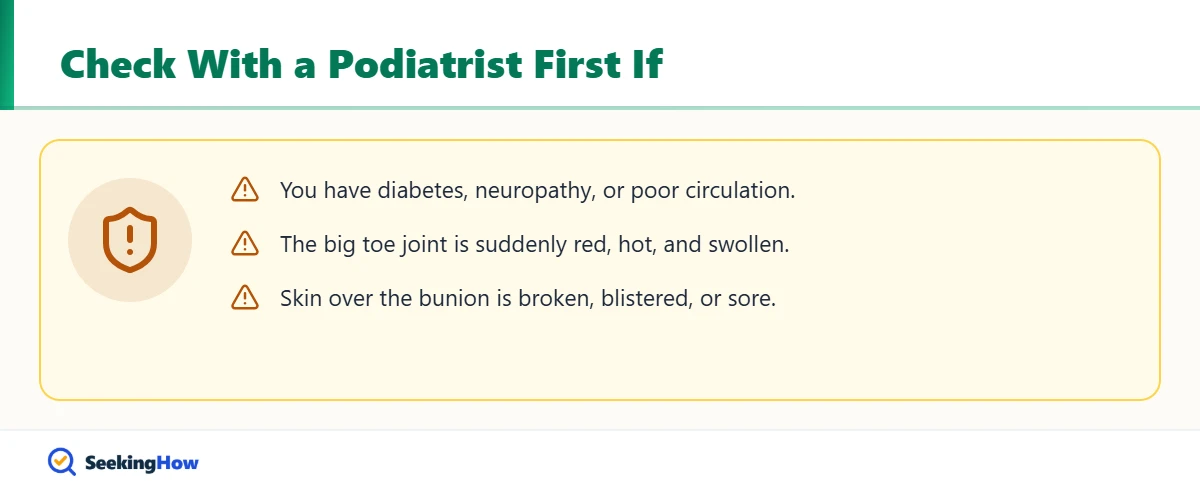
Taping is a comfort measure, not a cure. See a doctor or podiatrist if:
- You have diabetes, peripheral neuropathy, or poor circulation; do not tape the foot without medical advice.
- The big toe joint becomes suddenly red, hot, and very swollen, which can signal gout or infection.
- Pain limits walking or wearing normal shoes despite pads and wider shoes.
- You cannot bend the big toe, or numbness develops in the toe.
- Skin over the bunion breaks down, blisters, or forms an open sore.
Prevention Tips
- Wear shoes with a wide, deep toe box and heels under 2 inches for daily use.
- Do toe spreads and big toe stretches daily to keep the joint mobile.
- Replace worn shoes that have stretched out of shape.
- Ask a podiatrist about orthotics if you have flat feet.
Related Guides
- How to fix hammertoe with tape: taping steps and limits
- How to reduce leg pain at home
- How to reduce back pain linked to posture and footwear
Sources
- American Academy of Orthopaedic Surgeons OrthoInfo: Bunions (orthoinfo.aaos.org)
- American Podiatric Medical Association: Bunions (apma.org)
- Mayo Clinic: Bunions diagnosis and treatment (mayoclinic.org)
Frequently Asked Questions
Does kinesiology tape help bunions?
Kinesiology tape can help bunion pain in the short term by supporting the big toe and reducing pressure on the bump. It does not correct the underlying bone deformity. Many people use it for walking, sports, or long workdays alongside wide shoes, pads, and toe exercises.
How long can you leave kinesiology tape on a bunion?
You can usually leave kinesiology tape on a bunion for 3 to 5 days. It is water resistant and can be worn in the shower; pat it dry afterward. Remove it sooner if the skin itches, burns, or turns red, and let your skin rest before reapplying.
Can taping straighten a bunion permanently?
No, taping cannot straighten a bunion permanently. A bunion involves a change in the alignment of the bones at the big toe joint. Tape only holds the toe in a slightly better position while worn. Surgery is the only way to correct the bone alignment.
How much stretch should kinesiology tape have for a bunion?
Kinesiology tape for a bunion should have light stretch, about 15 to 25 percent, in the middle of the strip and zero stretch at both anchor ends. Too much tension causes skin irritation and blisters and does not give better support.
Can I wear kinesiology tape on a bunion to sleep?
Yes, you can wear kinesiology tape on a bunion while sleeping, since it is designed for multi-day wear. Some people prefer a soft toe spacer or night splint at night instead. Remove the tape if it causes tingling, numbness, or itching that disrupts sleep.
Is kinesiology tape or a bunion splint better?
Kinesiology tape is better for daytime activity because it fits inside shoes, while a bunion splint is better for rest and sleep. Neither permanently corrects a bunion. Many people use tape during the day, a splint or spacer at night, and wide toe box shoes all the time.
Who should not tape a bunion?
People with diabetes, peripheral neuropathy, poor circulation, fragile skin, or an allergy to adhesives should not tape a bunion without a podiatrist or doctor’s advice. Reduced sensation can hide blisters or pressure sores. Never apply tape over open wounds, rashes, or a red, hot, swollen joint.