Quick Answer
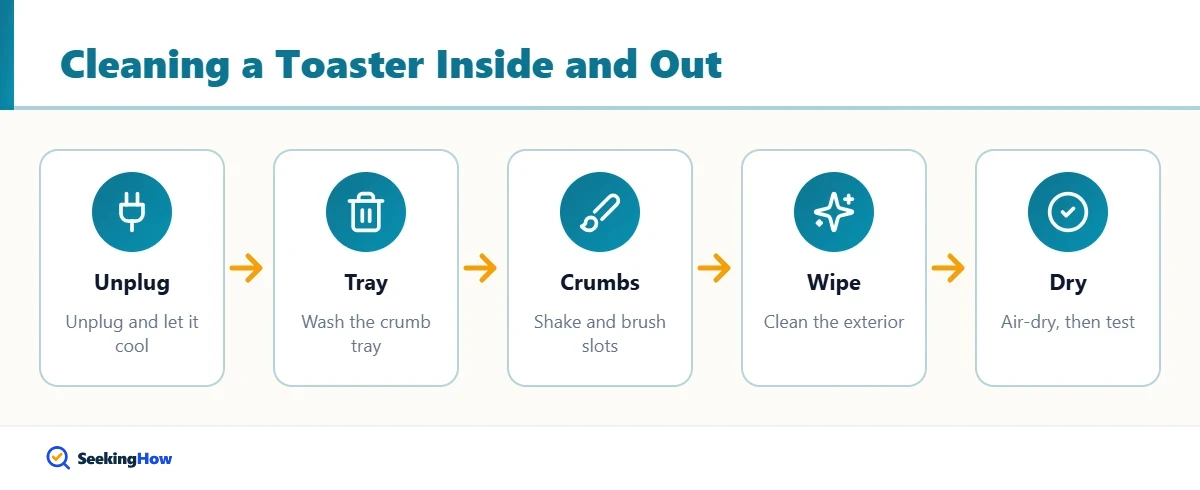
To clean a toaster, unplug it and let it cool, slide out and wash the crumb tray in warm soapy water, then turn the toaster upside down over the sink and gently shake out loose crumbs. Brush the slots with a dry soft brush, wipe the outside with a damp microfiber cloth and mild dish soap, and let everything dry for 30 minutes before plugging it back in.
Key Takeaways
- Always unplug the toaster and let it cool completely before you touch the slots or crumb tray.
- Never submerge a toaster in water or poke metal utensils into the slots; the heating elements are fragile and electrically live when plugged in.
- A soft brush and a shake over the sink remove most interior crumbs; a baking soda paste handles sticky outside spots.
- Empty the crumb tray every week and do a full clean about once a month to reduce burning smells and fire risk.
Crumbs pile up fast in a two-slice or four-slice toaster, and old crumbs scorch every time you make toast. That burnt smell, smoke and uneven browning are usually signs the toaster needs cleaning, not replacing. This guide covers the inside, the crumb tray and every common exterior finish, from stainless steel to painted plastic.
Why Should You Clean Your Toaster Regularly?
Every time you toast bread, bagels or frozen waffles, small crumbs fall past the bread carriage and land on the crumb tray or the bottom of the housing. Those crumbs dry out and blacken with each cycle. Over time they produce smoke, transfer a bitter taste to your toast and, in heavy buildup, can ignite.
Grease and sugar matter too. Pastries, buttered bread and toaster tarts leave sticky residue on the slot guides and bread carriage, which attracts more crumbs. The outside collects fingerprints, splatter from the counter and grease from nearby cooking. A clean toaster browns more evenly, smells better and lasts longer.
What Do You Need to Clean a Toaster?
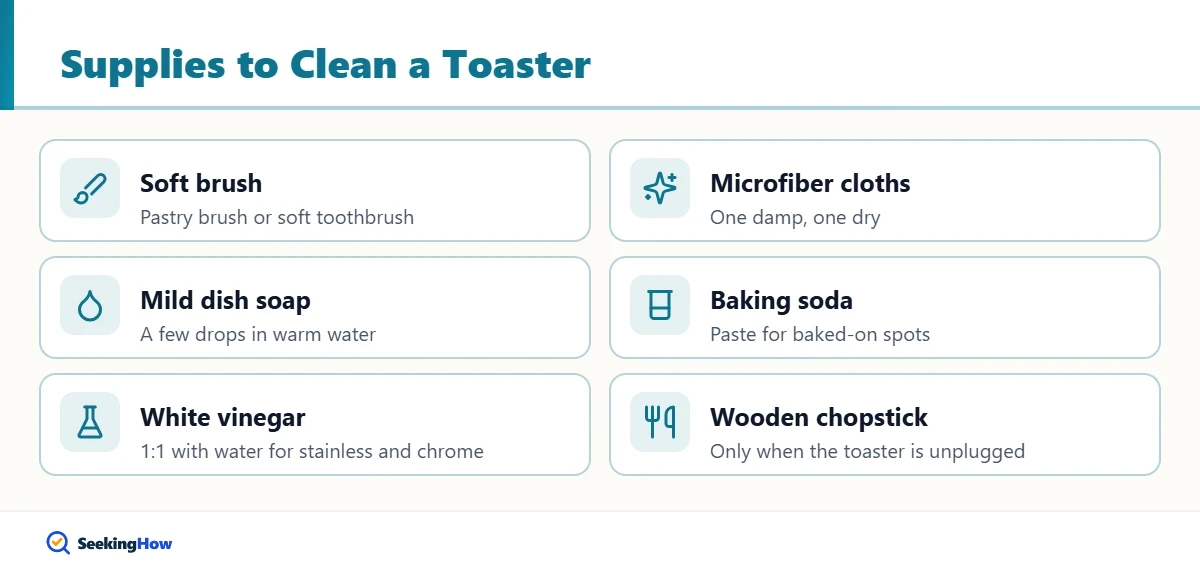
You do not need special cleaners. Most of what you need is already in your kitchen:
- Soft brush: a clean, dry pastry brush, soft paintbrush or soft toothbrush for the slots.
- Microfiber cloths: one damp, one dry, for wiping without scratching.
- Mild dish soap: a few drops in warm water for the crumb tray and exterior.
- Baking soda: mixed with a little water into a paste for baked-on spots.
- White vinegar: diluted 1:1 with water for streaks on stainless steel and chrome.
- Wooden or plastic tool: a wooden chopstick or skewer, used only when the toaster is unplugged, to nudge stuck crumbs.
Safety: Unplug the toaster before cleaning, every time. Even when the lever is up, the plug is the only thing that guarantees the elements are not powered. Never use a metal knife or fork in the slots, and never put the toaster in water or the dishwasher.
How Do You Clean a Toaster Inside and Outside?
A full clean takes about 15 to 20 minutes of work plus drying time. Follow these steps in order so you do not drag crumbs onto a freshly wiped exterior.
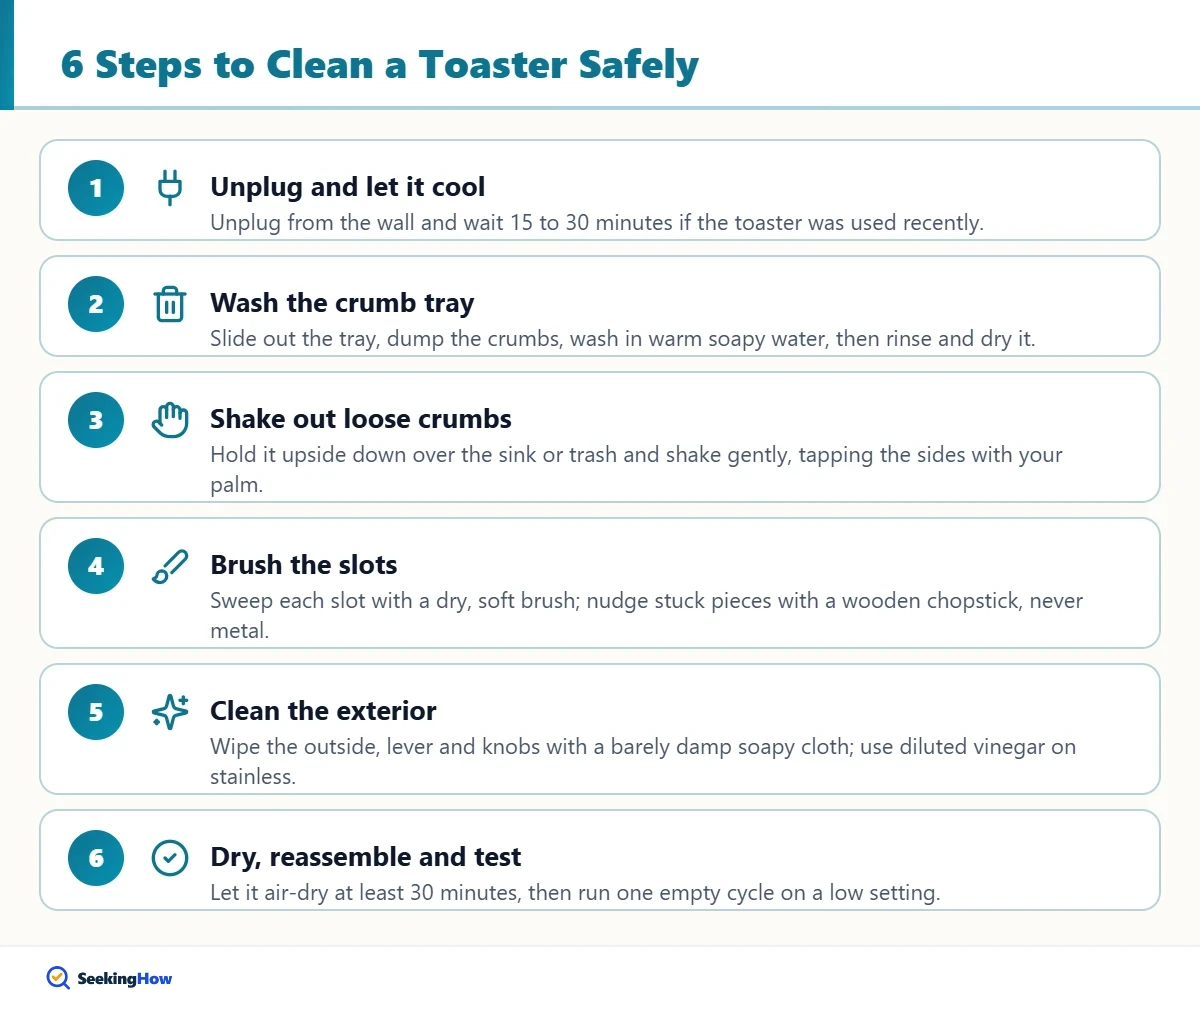
Step 1: Unplug and Let It Cool
Pull the plug from the wall outlet and wait at least 15 to 30 minutes if you used the toaster recently. The heating elements and metal housing stay hot well after the toast pops. Work on a towel near the sink so crumbs are easy to collect.
Step 2: Remove and Wash the Crumb Tray
Most toasters have a slide-out or hinged crumb tray at the bottom. Slide it out and dump the crumbs into the trash. Wash the tray in warm soapy water, scrub any burnt spots with a soft sponge or baking soda paste, rinse and dry it completely. If your toaster has a hinged tray, open it over the trash and wipe it with a damp cloth instead.
Step 3: Shake Out Loose Crumbs
Hold the toaster upside down over the sink or trash can and shake it gently from side to side. Tap the sides lightly with your palm to free crumbs stuck on the wire guides. Do not bang it on the counter, which can bend the delicate heating elements.
Step 4: Brush the Slots
Run a dry, soft brush down into each slot to sweep crumbs off the wire guides and the bread carriage. Turn the toaster over again and shake out what you loosened. For a stubborn piece, nudge it gently with a wooden chopstick, never metal, and avoid pressing on the thin heating wires.
Step 5: Clean the Exterior
Dip a microfiber cloth in warm water with a drop of dish soap, wring it until barely damp and wipe the outside, including the lever, knobs and buttons. For stainless steel, finish with diluted white vinegar and wipe with the grain. For baked-on spots, apply baking soda paste, wait about 5 minutes, then wipe it off with a damp cloth.
Step 6: Dry, Reassemble and Test
Buff the exterior with a dry cloth, slide the dry crumb tray back in and let the toaster air-dry for at least 30 minutes so no moisture remains near electrical parts. Plug it in and run one empty cycle on a low setting to burn off any trace of moisture or soap smell.
How Do You Clean Different Toaster Finishes?
The right cleaner depends on the outer material. Harsh scrubbers that work on a cast-iron pan will scratch a polished toaster.
| Finish | Best cleaner | Avoid |
|---|---|---|
| Brushed stainless steel | Dish soap, then 1:1 vinegar and water; wipe with the grain | Steel wool, bleach, chlorine cleaners |
| Polished chrome | Damp microfiber, vinegar solution, dry buff | Abrasive powders that cause swirl marks |
| Painted metal or enamel | Mild soapy water only | Scouring pads, solvents that dull paint |
| Plastic housing | Soapy water, baking soda paste for stains | Acetone and alcohol on glossy plastic |
| Toaster oven glass door | Baking soda paste, then damp cloth | Razor blades on coated glass |
If you keep other metal pieces looking bright, our guide on how to clean nickel silver without scratching it uses the same gentle approach.
How Do You Clean a Toaster Oven?
A toaster oven needs a slightly different routine because it has removable racks and a larger interior. Unplug it and let it cool, then remove the wire rack, baking tray and crumb tray. Soak them in hot soapy water for 15 to 20 minutes and scrub with a non-scratch sponge.
For the interior walls, spread a baking soda paste on greasy areas while avoiding the heating elements, leave it for 15 to 20 minutes, then wipe with a damp cloth. Many toaster ovens have a nonstick or coated interior, so check the manual before using anything stronger than baking soda. Clean the glass door with the same paste and finish with a dry cloth.
Common Toaster Cleaning Mistakes to Avoid
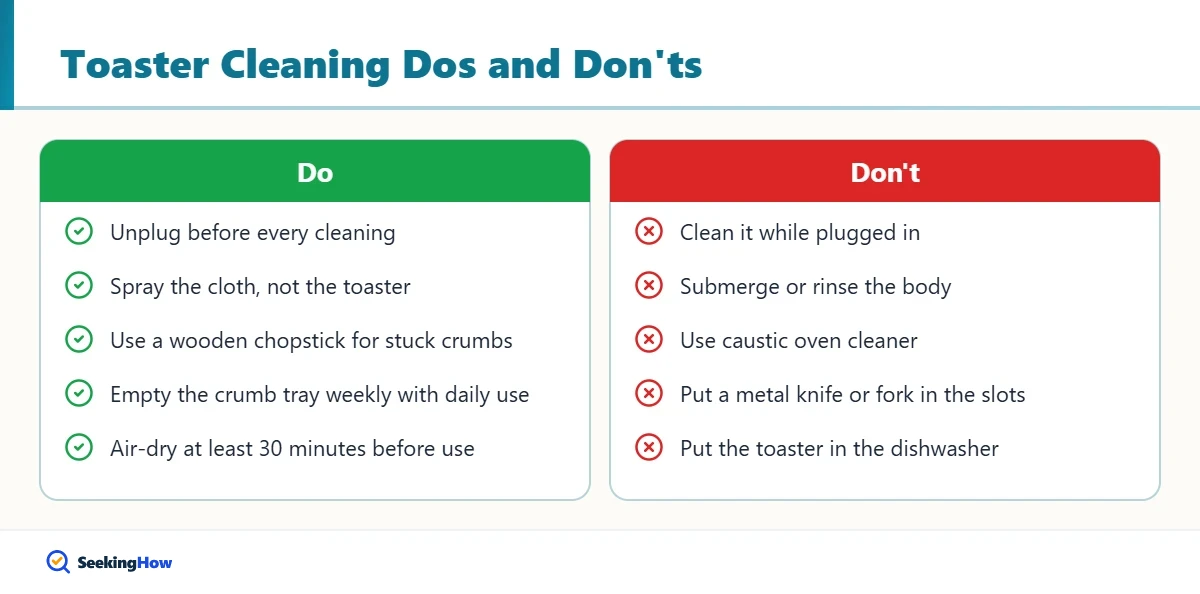
- Cleaning it while plugged in. This is the biggest shock risk, especially if you use a damp cloth.
- Submerging or rinsing the body. Water trapped inside can damage the controls and cause a short.
- Using oven cleaner. Caustic oven sprays can corrode elements and leave fumes that burn off into your food.
- Spraying cleaner into the slots. Liquid pools on the heating wires; always spray the cloth, not the toaster.
- Forgetting the crumb tray. An overflowing tray is the main source of burning smells.
How Often Should You Clean a Toaster?
Empty the crumb tray once a week if you use the toaster daily, and give it a full inside-and-outside clean about once a month. Wipe the exterior whenever you see grease or fingerprints, which in a busy kitchen can be every few days.
Clean right away after toasting anything sugary or cheesy that dripped, such as toaster pastries or open-faced melts. Melted sugar hardens quickly and is much easier to remove while it is fresh, once the unit has cooled. Some kitchens also schedule small-appliance cleaning alongside other filter tasks, like when you clean a Frigidaire dishwasher filter.
When Should You Replace Your Toaster?
Cleaning fixes most smoke and smell problems, but some signs mean the toaster is worn out. Replace it if the cord is frayed or hot to the touch, if a heating element is broken or glows only partly, if the lever no longer stays down, or if it trips the breaker. Do not attempt to rewire a toaster yourself.
A toaster that sparks or keeps smoking after a thorough clean should be unplugged and retired. Most basic toasters are inexpensive enough that a repair is rarely worthwhile, and modern models usually include a removable crumb tray and auto shutoff features that make upkeep easier.
Tip: Keep the toaster a few inches away from the wall and cabinets. Better airflow reduces grease buildup on the housing and keeps heat away from your backsplash.
For a broader kitchen refresh, see how to repair a damaged glass cooktop, another surface where gentle, non-abrasive cleaning prevents permanent scratches.
Frequently Asked Questions
Can you put a toaster in water to clean it?
No. Submerging a toaster can damage the controls, heating elements and wiring, and trapped water creates a shock hazard. Only the removable crumb tray should be washed in water. Clean the body with a barely damp cloth and let the toaster air-dry before plugging it in.
How do you get burnt crumbs out of a toaster without a tray?
Unplug the toaster, turn it upside down over the trash and shake gently, tapping the sides. Then sweep each slot with a dry pastry brush or soft toothbrush and shake again. A wooden chopstick can nudge a stuck crumb, but never use metal tools.
Is it safe to use vinegar on a toaster?
Yes, on the exterior. A 1:1 mix of white vinegar and water removes streaks and fingerprints from stainless steel and chrome. Apply it to a cloth rather than spraying the toaster, keep it away from the slots, and buff dry afterward.
Why does my toaster smell like burning?
A burning smell is usually old crumbs or sugary residue scorching on the crumb tray or heating elements. Emptying and washing the tray and brushing out the slots normally fixes it. If the smell continues after cleaning, or you see sparks, stop using the toaster.
Can I clean a toaster with baking soda?
Yes. Mix baking soda with a little water into a paste and apply it to baked-on grease on the exterior or the crumb tray. Let it sit about 5 minutes, wipe it off with a damp cloth, and dry the surface. Keep the paste out of the slots.