
Quick Answer
To clean a Keurig needle, unplug the brewer, open the handle and gently push a straightened paper clip into the entrance needle holes under the lid, then remove the pod holder and clear its exit needle the same way. Rinse the pod holder and run a water-only brew. The job takes about 10 minutes; watch your fingers, because both needles are sharp.
Key Takeaways
- A Keurig has two needles: an entrance needle under the lid and an exit needle in the bottom of the pod holder.
- Coffee grounds clogging either needle are the most common cause of short cups and slow brewing.
- A straightened metal paper clip is the standard tool Keurig itself suggests for clearing needles.
- Always unplug the brewer before reaching near the entrance needle.
- Run a water-only brew cycle afterward to flush loosened grounds out of the system.
When your Keurig suddenly brews half a cup, sputters or shows a prime or add water message even with a full reservoir, a clogged needle is the usual culprit. Learning how to clean a Keurig needle takes only a paper clip and a few minutes, and it works on K-Classic, K-Mini, K-Express, K-Elite, K-Supreme and most other K-Cup brewers.
What You’ll Need
- Standard metal paper clip, straightened with a bend at one end for a handle
- Mug and fresh water
- Mild dish soap and a soft sponge
- Paper towel or dish towel
- Keurig needle maintenance tool, if your brewer came with one (optional)
- Keurig descaling solution or plain white vinegar (optional, for scale)
How To Clean a Keurig Needle: Step-by-Step
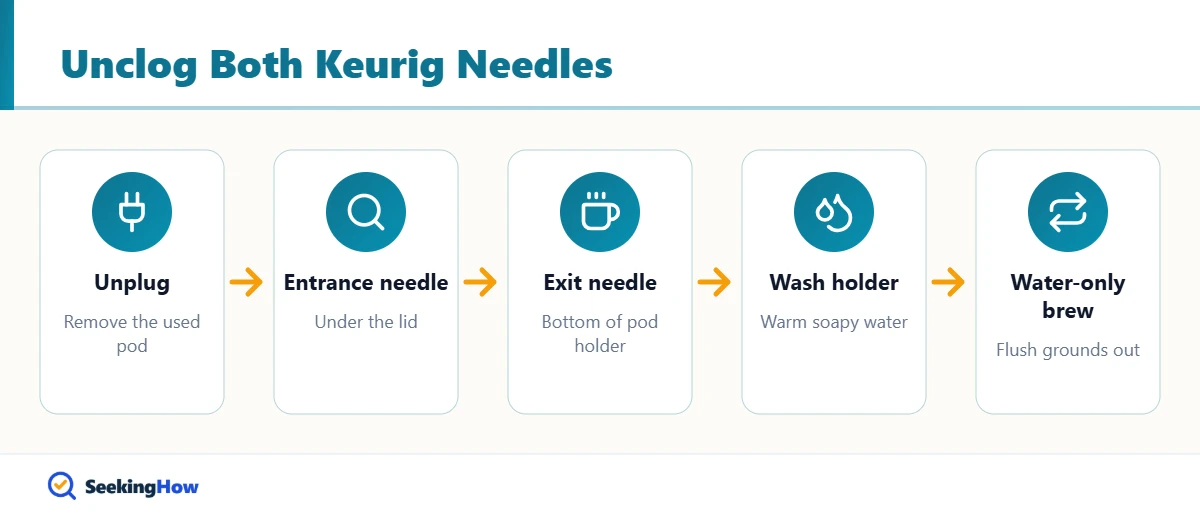
Step 1: Unplug the Brewer and Empty the Pod Holder
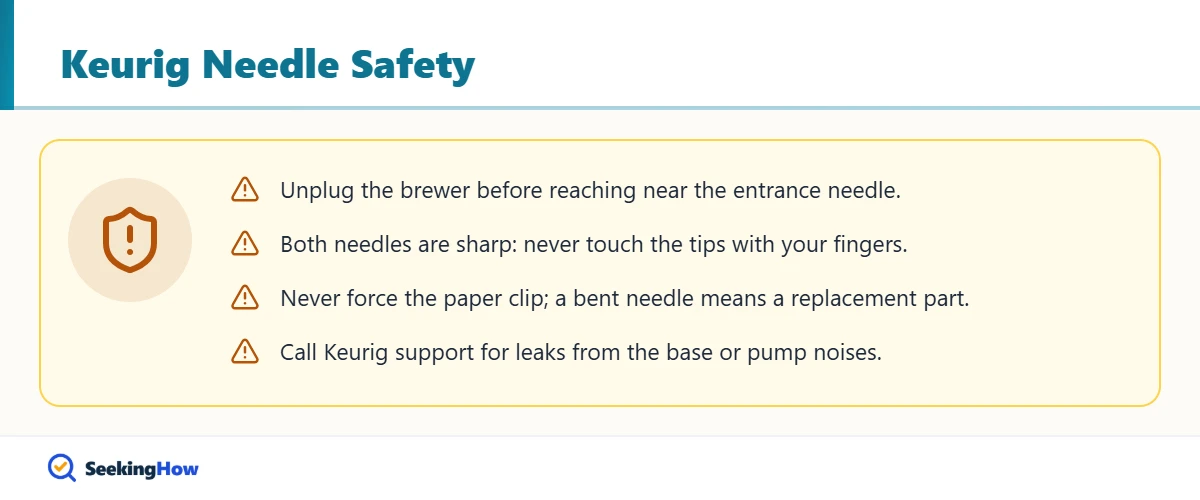
Turn the Keurig off and unplug it so it cannot start a brew while your fingers are near the needles. Lift the handle and discard any used pod. Place a mug or towel under the brewer to catch drips and grounds.
Step 2: Locate the Entrance Needle
Look at the underside of the lid. The entrance needle is the sharp point that punctures the foil top of the pod. Most current models have one main needle with one to three small holes around or along it.
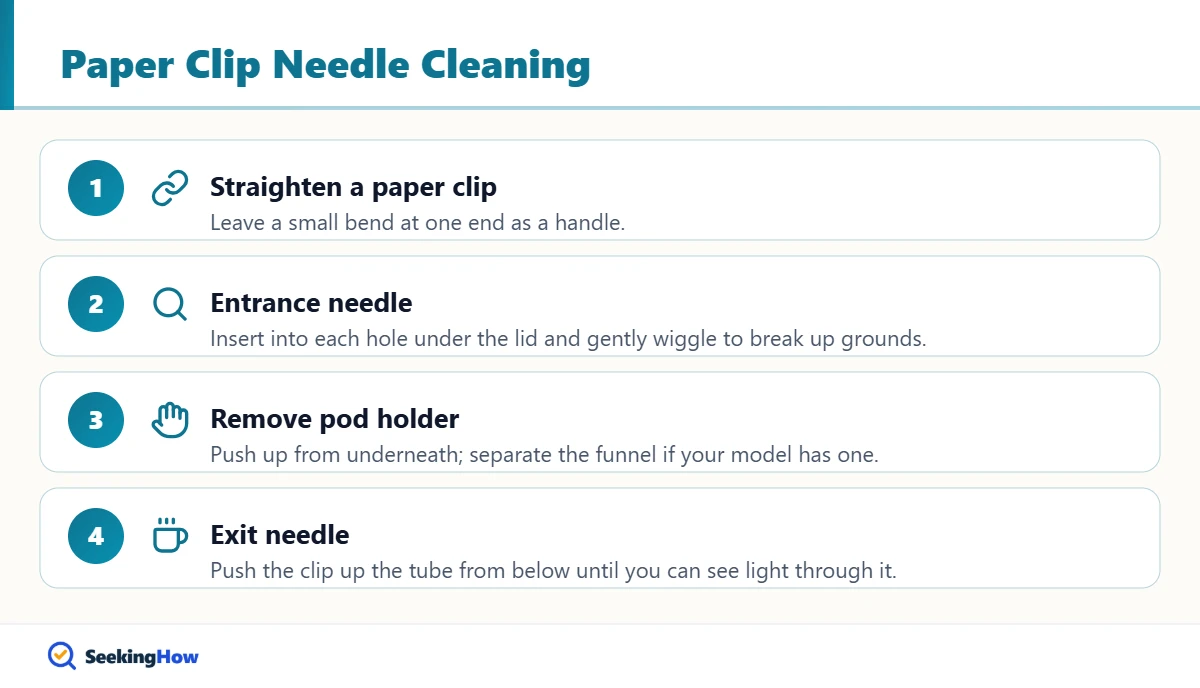
Step 3: Clear the Entrance Needle With a Paper Clip
Insert the straightened paper clip into each hole and gently wiggle it around to break up packed grounds. Do not force it or bend the needle. In practice, you will often see dark coffee grit fall out within a few pokes.
Step 4: Remove the Pod Holder
Grip the top of the pod holder and push up from underneath, or press the release on the sides, depending on your model. Many pod holders have a separate funnel underneath that pulls off. Handle it carefully because the exit needle sticks up through the bottom.
Step 5: Clear the Exit Needle
Slide the paper clip up into the exit needle tube from the bottom of the pod holder and move it back and forth to dislodge grounds. Check that you can see light through the tube when you hold it up.
Step 6: Wash and Reinstall the Pod Holder
Wash the pod holder and funnel with warm, soapy water, rinse well and dry. On most models these parts are also top-rack dishwasher safe; check your user guide. Snap the funnel and pod holder back in until they click.
Step 7: Run a Water-Only Brew
Plug the brewer in, fill the reservoir and run one or two large cleansing brews with no pod into a mug. This flushes out loosened grounds. If the cup volume is normal again, the needles are clear.
Bottom line: clear both needles with a paper clip whenever cups come out short, and run a water-only brew afterward every time.
| Symptom | Likely cause | What to clean |
|---|---|---|
| Short cups, slow brew | Grounds in entrance or exit needle | Both needles |
| Grounds in your coffee | Pod punctured poorly or clogged exit needle | Exit needle, pod holder |
| Sputtering or partial brew | Scale buildup in water line | Needles, then descale |
| Water leaks around pod | Clogged entrance needle or bad seal | Entrance needle, lid gasket |
If That Didn’t Work
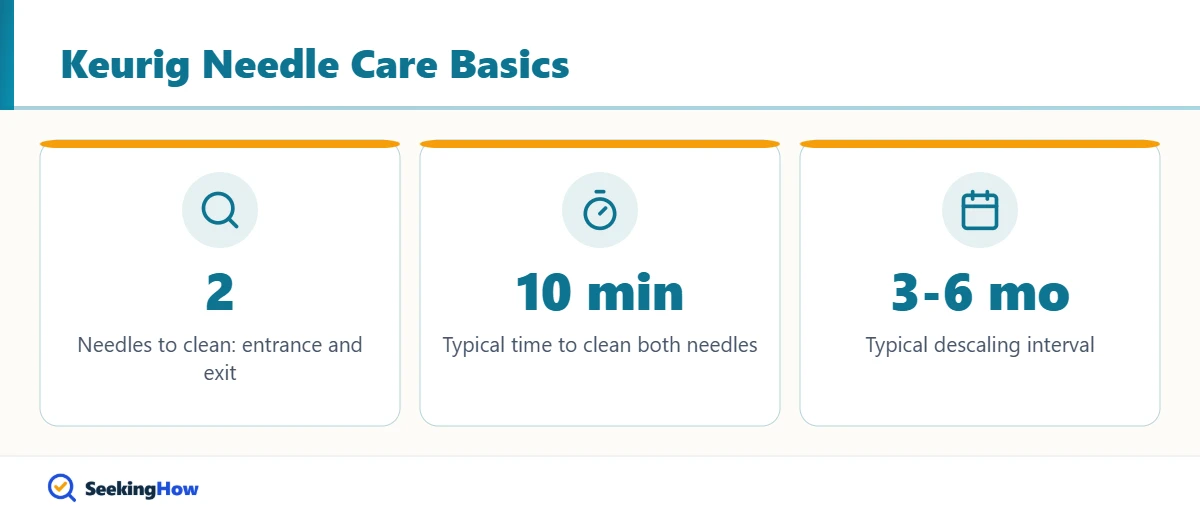
Problem: Cups are still short after cleaning both needles. Cause: Mineral scale inside the water line. Fix: Descale with Keurig descaling solution or vinegar following your user guide; Keurig generally recommends descaling every 3 to 6 months. Not sure which vinegar to buy? See white vinegar vs. distilled white vinegar.
Problem: The brewer says to prime or add water with a full reservoir. Cause: Air trapped or the reservoir not seated. Fix: Remove and reseat the reservoir, clean the reservoir valve and run a water-only brew.
Problem: The exit needle is bent. Cause: Forcing the pod holder or paper clip. Fix: Buy a replacement pod holder for your model rather than straightening it.
Problem: Grounds keep reappearing. Cause: Reusable filter overfilled or ground too fine. Fix: Fill a reusable pod only to its line and use a medium grind.
Safety and When To Call a Pro
Both Keurig needles are sharp enough to puncture skin, so never put your fingers directly on them and always unplug the brewer first. Keep the lid area dry before plugging the unit back in.
Contact Keurig customer support if the brewer leaks from the base, trips the outlet, makes grinding or loud pumping noises, or still brews short cups after needle cleaning and descaling. These signs point to a pump or valve problem that home cleaning will not fix.
Prevention Tips
- Remove used pods right after brewing so grounds do not dry around the needle.
- Run a water-only brew once a week to keep the needles flushed.
- Use filtered water to slow scale buildup. More descaling ideas are in our list of vinegar uses around the house.
- Descale every 3 to 6 months, or sooner with hard water.
Related Guides
- How to clean a toaster inside
- Vinegar uses around the house
- White vinegar vs. distilled white vinegar
- How to clean a Frigidaire dishwasher filter
Sources
- Keurig: K-Mini user and care guide, needle cleaning instructions (dam.keurig.com)
- Keurig: brewer support and descaling information (keurig.com)
- USDA Food Safety and Inspection Service: cleaning kitchen equipment (fsis.usda.gov)
Frequently Asked Questions
How do I know if my Keurig needle is clogged?
Short or weak cups, slow brewing, sputtering, grounds in your coffee and water pooling in the pod are the classic signs of a clogged Keurig needle. If the reservoir is full and seated but cups are still short, clean both needles before trying anything else.
Can you clean a Keurig needle with a toothpick?
A wooden toothpick is too thick for most Keurig needle holes and can snap off inside them. A straightened metal paper clip is the standard tool and fits both the entrance and exit needles. Some newer brewers include a dedicated needle cleaning tool.
How often should you clean a Keurig needle?
Clean the needles whenever cups come out short, and as preventive maintenance about once a month if you brew daily. Remove used pods right after brewing and run a water-only brew weekly to keep grounds from building up.
Where is the exit needle on a Keurig?
The exit needle is at the bottom of the pod holder, the removable cup where you place the K-Cup. It punctures the bottom of the pod so coffee can flow out. Remove the pod holder to reach it from underneath and clear it with a paper clip.
Does descaling clean the Keurig needle?
Descaling removes mineral scale from internal water lines but does not reliably clear packed coffee grounds from the needles. Clean the needles with a paper clip first, then descale if cups are still short. Keurig generally recommends descaling every 3 to 6 months.
Is the Keurig pod holder dishwasher safe?
On most Keurig models, the pod holder and funnel are top-rack dishwasher safe. Check your user and care guide to confirm. Handle the pod holder carefully, since the exit needle protrudes from the bottom and can scratch or prick your hand.