
Quick Answer
To fix low water pressure in only one faucet, unscrew the aerator at the spout tip and clean it, because a clogged aerator is the most common cause. Soak it in white vinegar for 30 minutes if it is crusted. If flow is still weak, make sure the shutoff valves under the sink are fully open, then clean or replace the faucet cartridge. Most fixes take under 30 minutes.
Key Takeaways
- Low pressure at a single faucet points to a problem in that faucet or its supply, not the whole house.
- A clogged aerator is the most frequent cause and costs little or nothing to fix.
- Partly closed shutoff valves under the sink often follow recent plumbing work.
- If only the hot side is weak, suspect the faucet hot cartridge or water heater sediment.
- A cartridge clogged with debris or scale can be flushed or replaced in about 20 minutes.
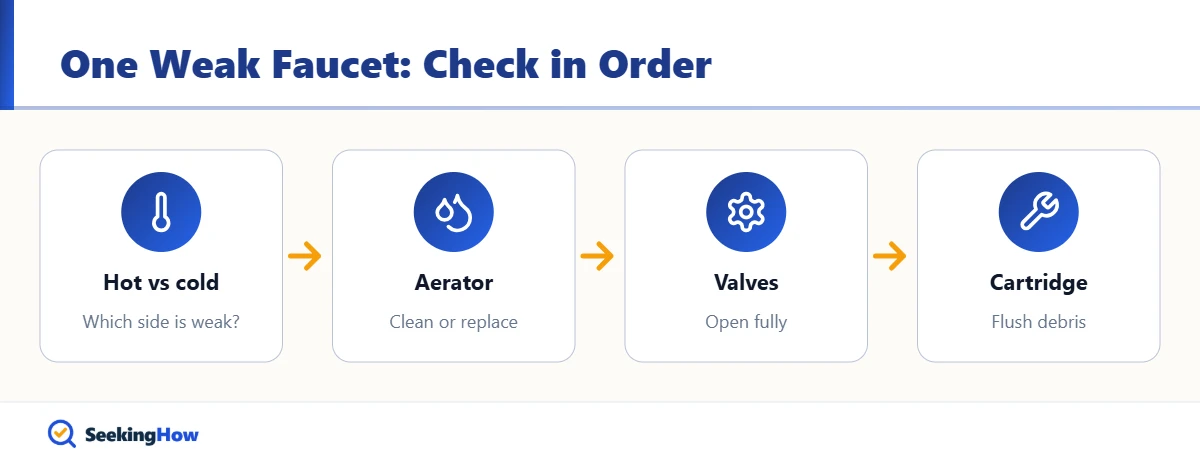
When every other tap runs normally, low water pressure in only one faucet is almost always a local, easy repair. Learning how to fix low water pressure in only one faucet starts with simple tests that narrow the cause in a few minutes. Work through these steps in order, from the spout tip back to the supply valves.
What You’ll Need
- Rag or masking tape and slip-joint pliers
- Aerator key, if your faucet has a hidden (cache) aerator
- White vinegar and a small bowl
- Old toothbrush and a pin or toothpick
- Bucket and towels
- Adjustable wrench and screwdriver set
- Replacement aerator or cartridge matched to the faucet model (optional)
How To Fix Low Water Pressure in Only One Faucet: Step-by-Step
Step 1: Test Hot and Cold Separately
Run full hot, then full cold, and compare the flow. If both sides are weak, the cause is usually the aerator or a shared part. If only hot is weak, focus on the hot shutoff valve, the hot side of the cartridge, or sediment from the water heater.
Step 2: Remove and Clean the Aerator
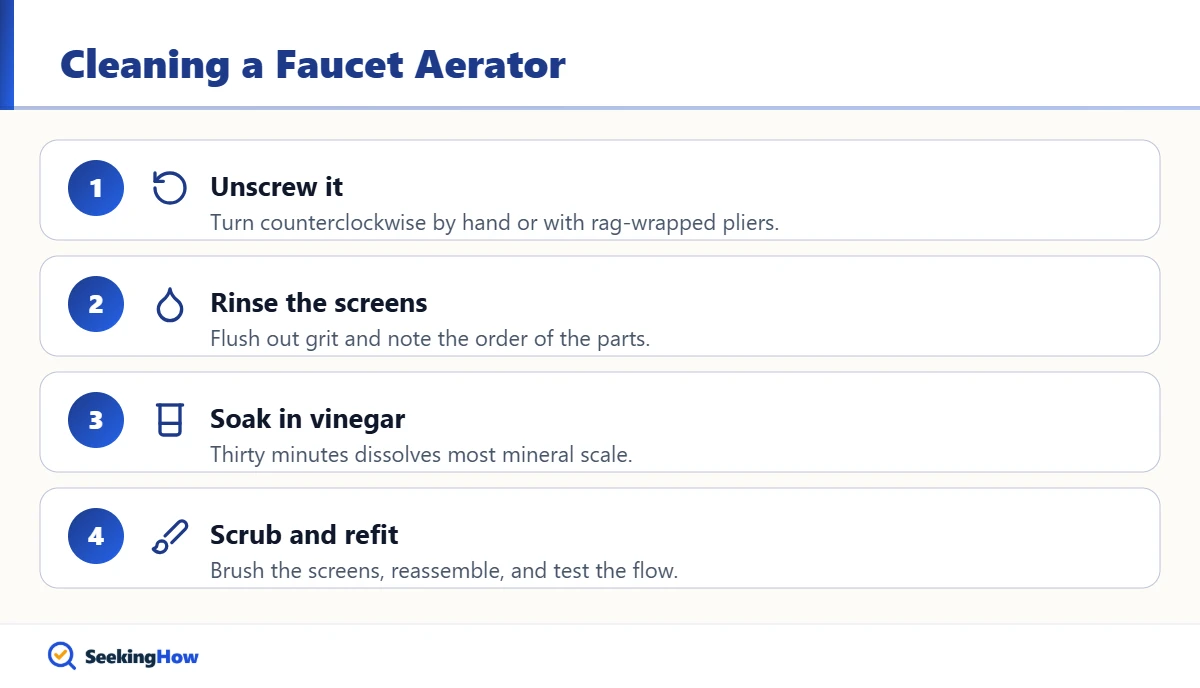
Unscrew the aerator at the spout tip counterclockwise by hand, or with pliers wrapped in a rag. Hidden aerators need a plastic aerator key. Rinse out grit, scrub the screens with a toothbrush, and note the order of the parts so they go back correctly.
Step 3: Soak Scale and Test Without the Aerator
Soak a crusted aerator in white vinegar for 30 minutes, then scrub and rinse. While it soaks, run the faucet without the aerator. If the flow is strong now, the aerator was the problem; clean it or replace it with one of the same thread size and flow rate.
Step 4: Open the Shutoff Valves Fully
Turn both shutoff valves under the sink counterclockwise until they stop. Valves are often left partly closed after repairs. Old multi-turn valves can also have a worn washer that blocks flow, which needs a plumber or a valve replacement.
Step 5: Check the Supply Lines
Look for kinked or crushed flexible supply lines under the sink. Turn off the valves, disconnect a line into a bucket, and briefly open the valve to see if water flows strongly from it. Strong flow from the valve means the faucet itself is restricted.
Step 6: Clean or Replace the Cartridge
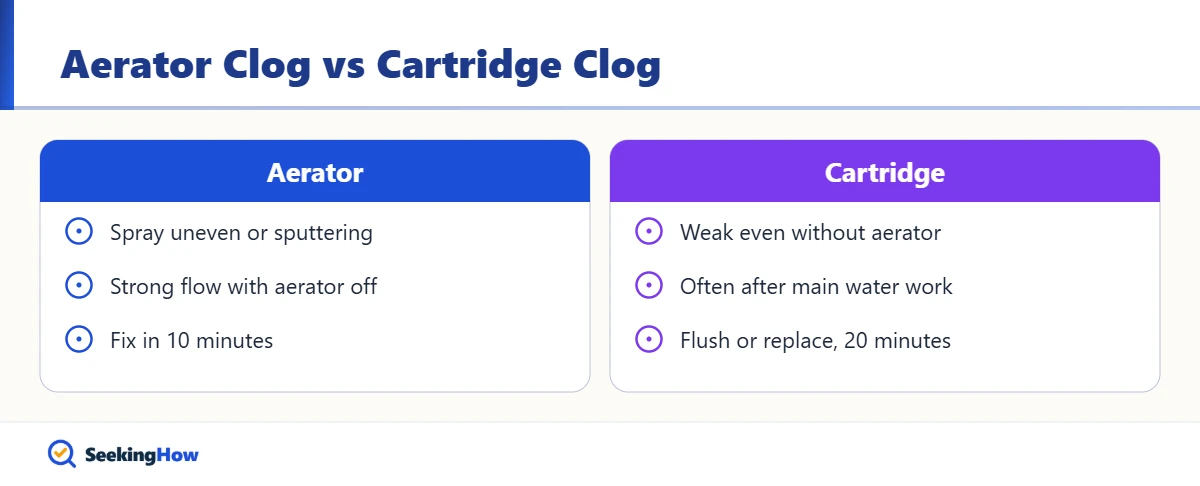
With the water off, remove the faucet handle and pull out the cartridge or valve stem. Rinse debris from the inlet ports and any small screens, then reinstall it, or replace it if it is cracked or scaled. In practice, debris from recent work on the water main often lodges right here.
Step 7: Flush the Faucet and Reassemble
With the aerator still off, open the faucet fully for 30 seconds to flush loosened grit. Then reinstall the aerator and test. Most people find full pressure returns after cleaning the aerator or cartridge.
Bottom line: clean the aerator first, then confirm the valves are open; only replace parts if both checks fail.
Find the Cause by Symptom
| Symptom | Most likely cause | Fix |
|---|---|---|
| Weak on hot and cold, spray uneven | Clogged aerator | Clean or replace aerator |
| Weak only on hot | Hot valve, cartridge, or heater sediment | Open valve, clean cartridge, flush heater |
| Weak after plumbing work | Debris in cartridge or valve partly closed | Flush and open valves |
| Weak at one bathroom group | Branch line clog or old galvanized pipe | Call a plumber |
| Pressure dropping over time everywhere | Main supply or leak | Check for leaks and the pressure regulator |
If That Didn’t Work
Problem: The aerator will not unscrew. Cause: Mineral buildup. Fix: Tie a bag of vinegar around the spout tip for an hour, then try again with wrapped pliers.
Problem: Pressure returns, then drops again in days. Cause: Ongoing sediment from pipes or the water heater. Fix: Flush the water heater and consider a whole-house sediment filter.
Problem: The shower is weak too. Cause: A shared branch or a clogged showerhead. Fix: See how to increase water pressure in your shower.
Problem: The faucet is old and parts are unavailable. Cause: Discontinued model. Fix: Replace the faucet.
Safety and When To Call a Pro
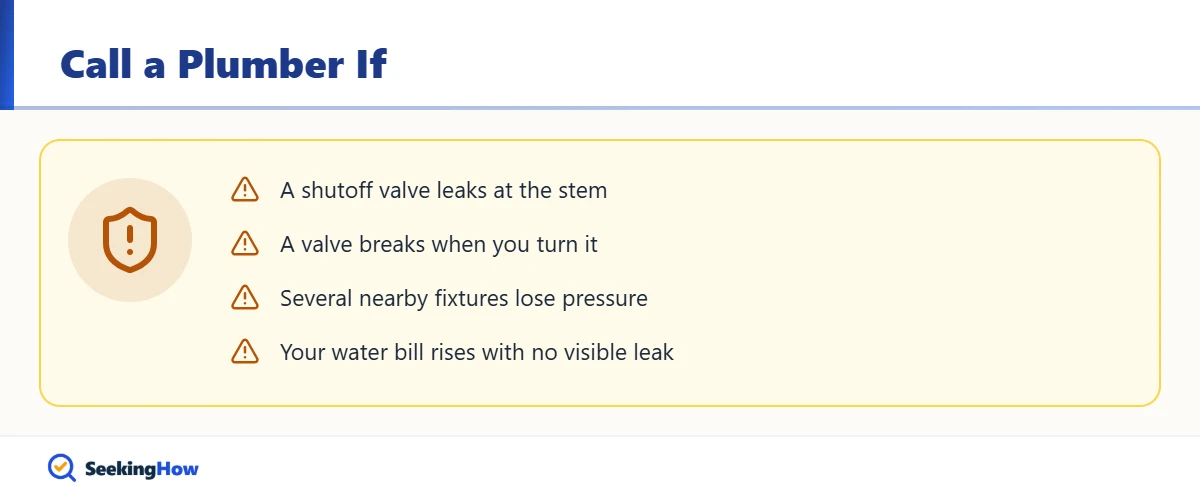
Always shut off both valves and open the faucet before removing a cartridge, or water will spray out under pressure. Call a plumber if a shutoff valve leaks at the stem, if a supply valve breaks when turned, or if several fixtures in one area lose pressure. A sudden pressure drop with a rising water bill can signal a hidden leak; see how to tell if you have a water leak underground.
Prevention Tips
- Clean faucet aerators every 3 to 6 months in hard-water areas.
- Remove aerators and flush faucets after any work on the water main.
- Flush the water heater according to the maker instructions to reduce sediment.
Related Guides
- How To Increase Water Pressure in Your Shower
- How To Replace a Kitchen Faucet
- How To Tell If You Have a Water Leak Underground
- How To Connect a Hose to a Kitchen Tap
Sources
- U.S. Environmental Protection Agency, WaterSense faucet and aerator information (epa.gov)
- Moen, faucet aerator and cartridge support (moen.com)
- Delta Faucet, faucet repair parts and guides (deltafaucet.com)
Frequently Asked Questions
Why is water pressure low in one faucet only?
Water pressure is low in one faucet only because something in that faucet or its supply is restricted, most often a clogged aerator. Partly closed shutoff valves, a kinked supply line, or a clogged cartridge are the next most common causes. Whole-house problems affect every fixture.
How do I clean a faucet aerator?
Unscrew the aerator counterclockwise, rinse out grit, and soak the parts in white vinegar for about 30 minutes. Scrub the screens with an old toothbrush, rinse, and reassemble in the same order. Replace the aerator if the screen is torn or deformed.
Why is only the hot water pressure low in one faucet?
Low hot water pressure in one faucet usually comes from the hot shutoff valve being partly closed or debris in the hot side of the cartridge. If hot pressure is low at every faucet, the water heater outlet or sediment in the tank is the more likely cause.
Can a faucet cartridge cause low water pressure?
Yes, a faucet cartridge can cause low water pressure when debris or scale blocks its inlet ports. Shut off the water, remove the cartridge, rinse the ports, and reinstall it. Replace it if it is cracked, worn, or still restricts flow after cleaning.
Why did my faucet pressure drop after the water was shut off?
Faucet pressure often drops after the water was shut off because loosened sediment and debris travel into aerators and cartridges when service returns. Remove the aerator, flush the faucet for 30 seconds, and clean the cartridge if needed.
How much does it cost to fix low water pressure in a faucet?
Cleaning an aerator is free, and a replacement aerator usually costs only a few dollars. A new cartridge typically runs about 15 to 60 dollars depending on brand, as of 2026. A plumber visit adds a service fee that varies by region.