
Quick Answer
To remove a kitchen faucet nut that won’t budge, shut off the water, soak the nut with penetrating oil for 15 to 30 minutes, then turn it counterclockwise (as viewed from below, looking up) with a basin wrench while a helper holds the faucet still above. If it still will not move, cut the nut with an oscillating multi-tool or a hacksaw blade, taking care not to cut the sink.
Key Takeaways
- Kitchen faucet mounting nuts loosen counterclockwise when viewed from below, looking up.
- A basin wrench or the plastic faucet nut tool that came with many faucets reaches nuts behind the sink bowl.
- Penetrating oil needs at least 15 minutes to work into corroded threads.
- Have a helper hold the faucet from above, or the whole faucet spins instead of the nut.
- Cutting the nut or the threaded shank is the reliable last resort when the faucet is being replaced anyway.
Corroded mounting nuts are the hardest part of most faucet swaps, especially on older sinks where mineral-laden water has dripped on them for years. Here is how to remove a kitchen faucet nut that won’t budge, starting with the gentlest method and ending with cutting it off safely. Work from the least destructive step to the most.
What You’ll Need
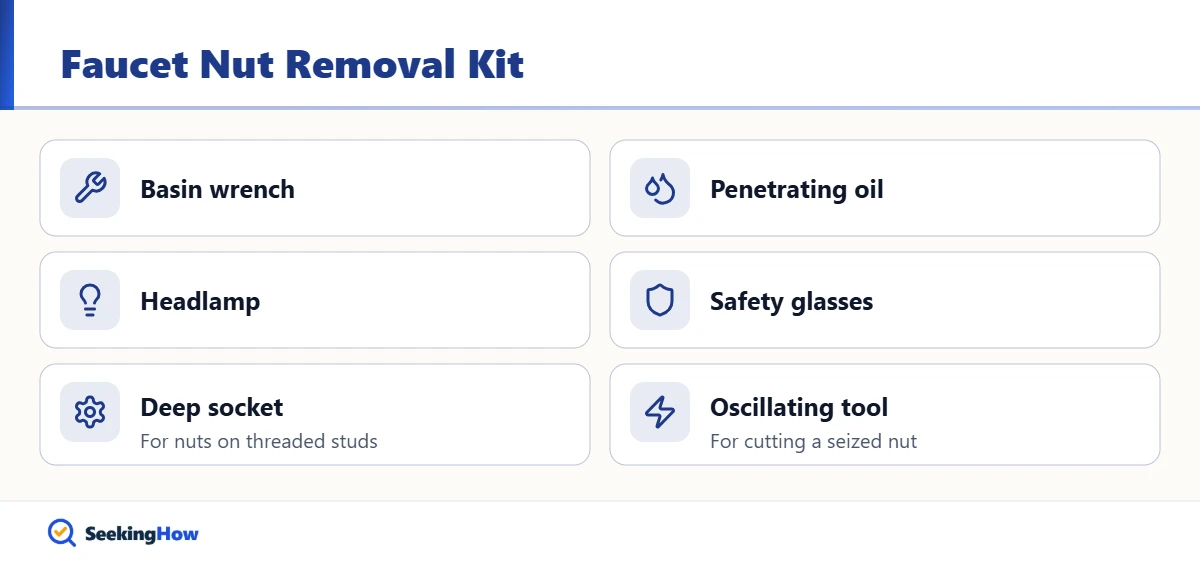
- Basin wrench, 10 to 17 inches, or the faucet nut tool supplied with your faucet
- Penetrating oil
- Headlamp or flashlight and safety glasses
- Adjustable wrench and slip-joint pliers
- Deep socket and ratchet with an extension (optional, for nuts on threaded studs)
- Oscillating multi-tool with a metal-cutting blade, or a mini hacksaw (for cutting)
- Nut splitter (optional)
- Bucket, towels, and a helper
How To Remove a Kitchen Faucet Nut That Won’t Budge: Step-by-Step
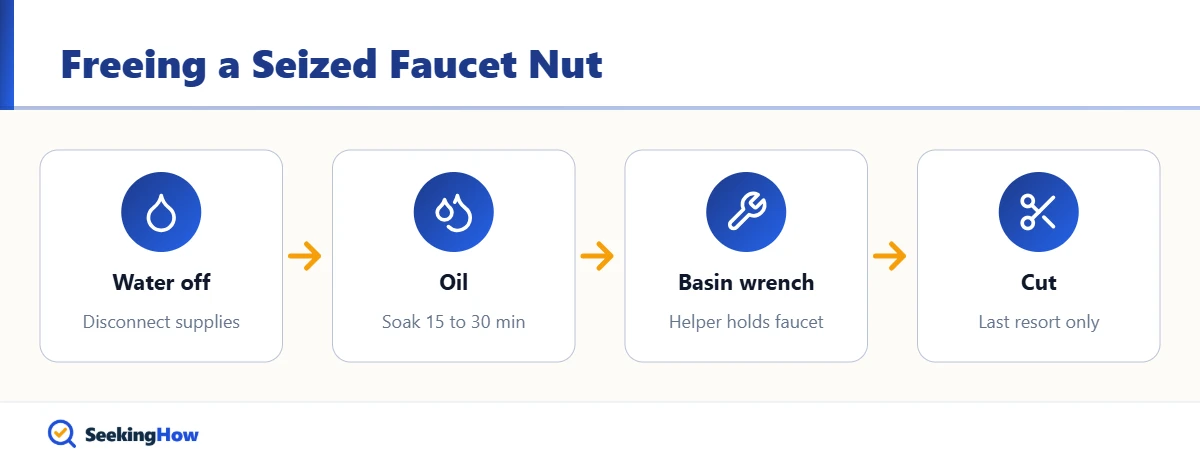
Step 1: Shut Off the Water and Disconnect Supply Lines
Close both shutoff valves, open the faucet to relieve pressure, and disconnect the supply lines with an adjustable wrench. Removing the lines gives you room to reach the mounting nut. If the shutoff valves will not close, turn off the main water supply.
Step 2: Identify the Nut Type
Look up with a headlamp. Most faucets use a large plastic or brass nut on the threaded shank, or smaller hex nuts on threaded studs that hold a mounting bracket. Hex nuts on studs come off easily with a deep socket, while large shank nuts need a basin wrench.
Step 3: Soak With Penetrating Oil
Spray penetrating oil onto the threads above and below the nut and wait 15 to 30 minutes. Reapply once halfway through. In practice, patience here saves a lot of cutting later.
Step 4: Hold the Faucet and Turn the Nut
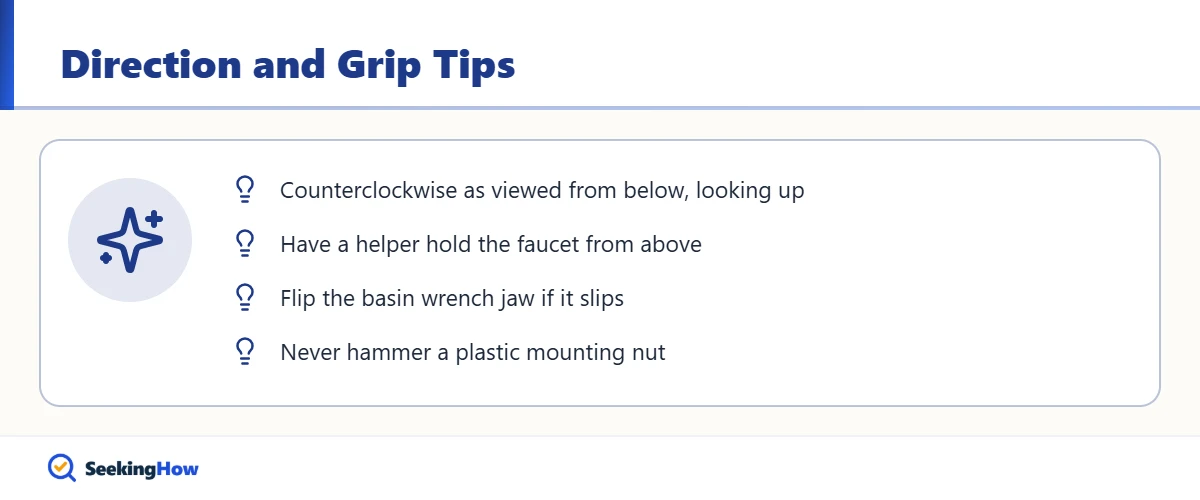
Have a helper hold the faucet body firmly from above. Clamp the basin wrench jaws on the nut and turn counterclockwise as viewed from below, looking up. Most people turn the wrong way at first because they are lying on their back; double-check the direction before applying full force.
Step 5: Tap and Retry
Tap the side of a metal nut a few times with a hammer and a small punch to break the corrosion bond, then try the wrench again. Do not hammer plastic nuts, which crack and leave the threads behind. Warm a metal nut with a hair dryer if it is very cold.
Step 6: Cut the Nut as a Last Resort
If you are replacing the faucet, make one or two cuts through the nut with an oscillating multi-tool or a mini hacksaw blade, cutting parallel to the shank. Stop before you reach the shank threads and pry the nut open with a screwdriver. On a plastic nut, a single cut usually releases it.
Step 7: Remove the Faucet and Clean the Deck
Lift the old faucet out from above and scrape old putty and mineral deposits from the sink deck. Clean, flat surfaces help the new gasket seal. Then follow our guide to replace a kitchen faucet.
Bottom line: oil, wait, hold the faucet still, and use a basin wrench; cut the nut only when the faucet is being replaced anyway.
Removal Methods Compared
| Method | Time | Risk | Best for |
|---|---|---|---|
| Basin wrench plus oil | 15 to 45 min | Low | Most metal and plastic nuts |
| Deep socket | 5 to 15 min | Low | Hex nuts on threaded studs |
| Nut splitter | 10 to 20 min | Low to moderate | Small rounded hex nuts |
| Oscillating tool cut | 10 to 20 min | Moderate, can mark the sink | Seized nuts on a faucet being replaced |
If That Didn’t Work
Problem: The whole faucet spins. Cause: No one is holding it, or the faucet gasket is worn. Fix: Have a helper hold it, or wedge a wood block against the faucet base.
Problem: The basin wrench keeps slipping. Cause: Rounded or plastic nut. Fix: Flip the jaw to grip the other direction, or use slip-joint pliers on the nut ears.
Problem: The supply line nut is stuck too. Cause: Corroded or cross-threaded fitting. Fix: Hold the valve with a second wrench while turning; see how to fix cross-threaded plastic pipe if threads are damaged.
Problem: You cannot reach the nut behind the sink bowl. Cause: Tight clearance. Fix: Remove the garbage disposal or the drain trap temporarily for access.
Safety and When To Call a Pro
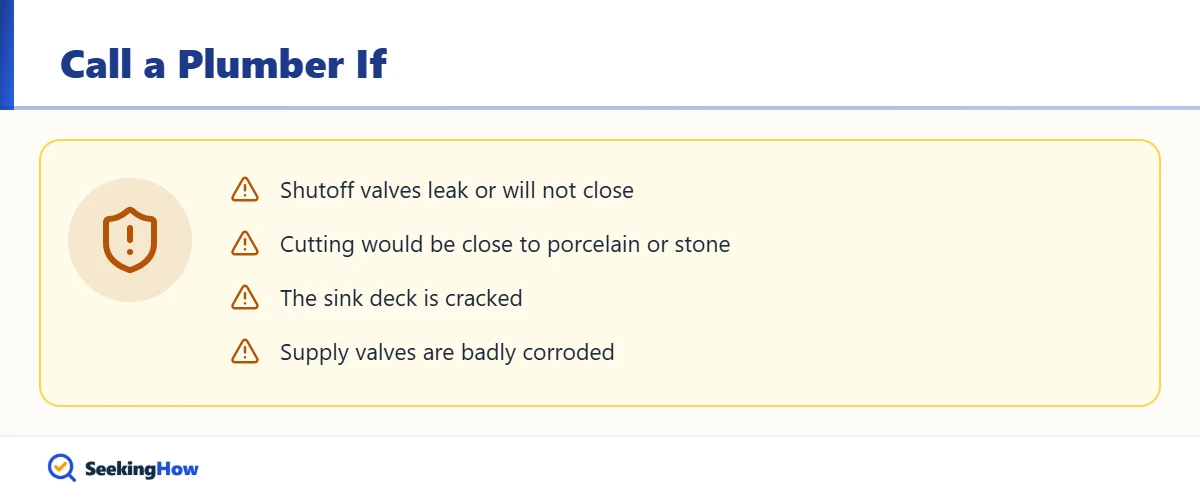
Wear safety glasses when working under a sink, since rust and debris fall in your eyes. Call a plumber if the shutoff valves leak or will not close, if cutting would be within a fraction of an inch of a porcelain or stone sink, or if the sink deck is cracked. Unplug the garbage disposal before working near it.
Prevention Tips
- When installing a new faucet, coat metal threads lightly with plumber’s grease or anti-seize so future removal is easier.
- Fix drips quickly; water running down the shank causes most corrosion.
- Keep the cabinet dry and ventilated.
Related Guides
- How To Replace a Kitchen Faucet
- How To Fix Cross-Threaded Plastic Pipe
- How To Connect a Hose to a Kitchen Tap
- How To Fix a Leaking PVC Joint Without Cutting
Sources
- Moen, kitchen faucet installation and removal support (moen.com)
- Delta Faucet, kitchen faucet installation guides (deltafaucet.com)
- Occupational Safety and Health Administration, eye and face protection (osha.gov)
Frequently Asked Questions
Which way do you turn a faucet nut under the sink?
Turn a faucet mounting nut counterclockwise as viewed from below, looking up at it, to loosen it. Lying on your back makes this confusing, so pause and picture the nut from underneath before applying force. Turning the wrong way only tightens it further.
What is the best tool for a stuck faucet nut?
A basin wrench is the best tool for a stuck faucet mounting nut because its long shaft reaches behind the sink bowl. Many newer faucets also include a plastic socket tool. For hex nuts on threaded studs, a deep socket with an extension works better.
Can I cut off a kitchen faucet nut?
Yes, you can cut off a kitchen faucet nut if you are replacing the faucet. Use an oscillating multi-tool or a mini hacksaw blade and cut parallel to the shank, then pry the nut open. Keep the blade away from the sink surface.
How do you remove a plastic faucet nut?
Remove a plastic faucet nut by turning its wings or ears counterclockwise with a basin wrench or slip-joint pliers. If it is fused or stripped, make one cut through it with an oscillating tool or a utility knife and it will split free.
Does WD-40 work on faucet nuts?
Penetrating oil helps on corroded metal faucet nuts when given time to soak in. Spray it on, wait 15 to 30 minutes, and reapply. It does little for plastic nuts, which usually stick because of mineral buildup and are easier to cut.
Do I need to remove the sink to replace a faucet?
No, most faucets can be replaced without removing the sink. A basin wrench reaches the mounting nuts from below. You may need to remove a garbage disposal or drain trap for room, but the sink itself usually stays in place.