
Quick Answer
To level a house on piers yourself, map the low spots with a laser or water level, then raise each low beam slowly with a rated bottle jack on solid cribbing and add steel or treated hardwood shims, or an adjustable steel pier post, between pier and beam. Lift in small increments, about 1/8 inch at a time, over days or weeks. Get a structural engineer if piers are sinking or cracked.
Key Takeaways
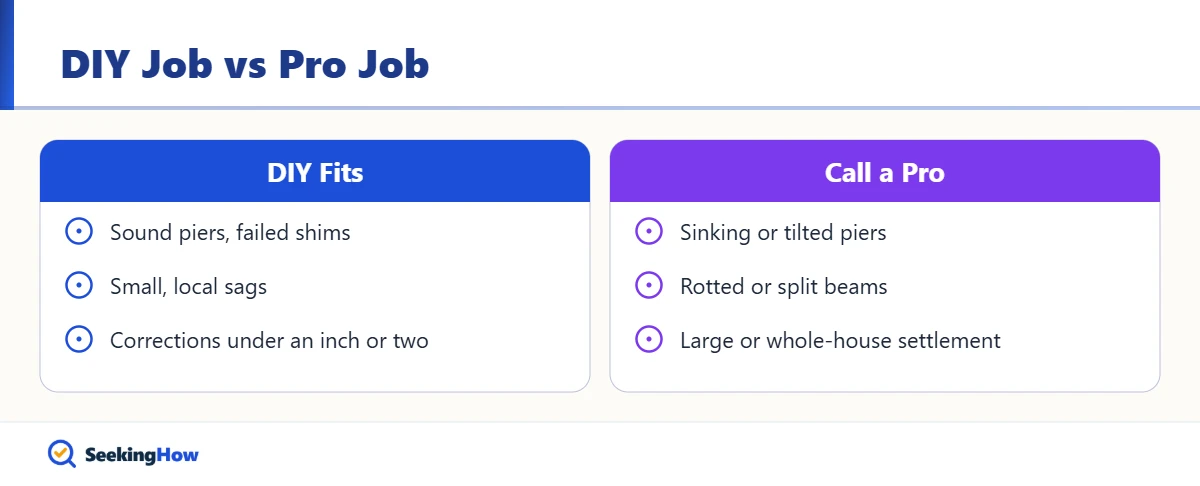
- Shimming and re-supporting existing sound piers is a realistic DIY job; replacing failed footings usually is not.
- Measure first: a laser level or water level shows which piers are low and by how much.
- Raise the house slowly in small increments so framing, drywall, and plumbing can adjust.
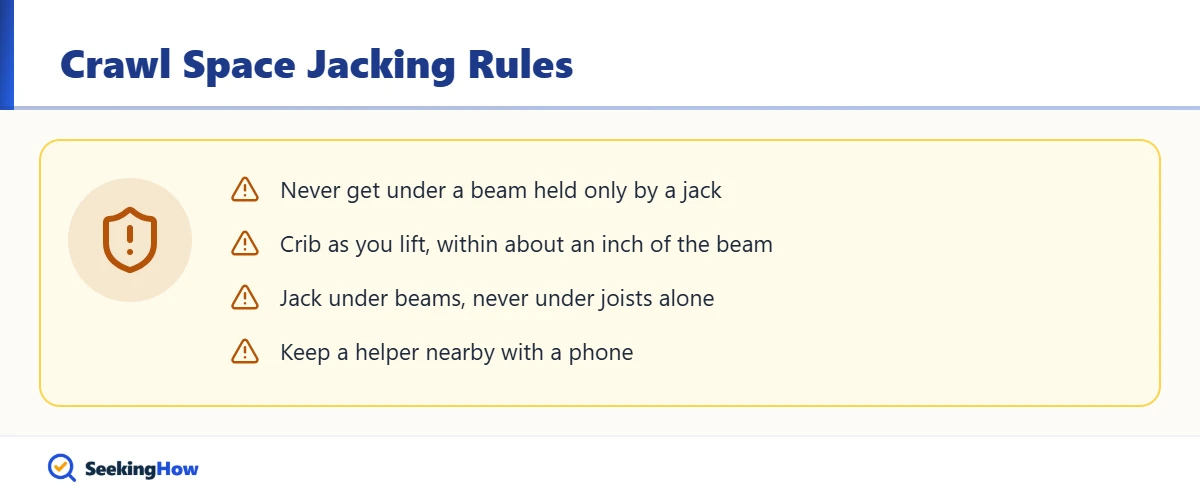
- Never work under a house supported only by a jack; set cribbing or jack stands first.
- Use steel shims or pressure-treated hardwood, not softwood scraps or stacked loose blocks.
- Many jurisdictions require a permit for foundation work, so check before you start.
Pier-and-beam houses settle unevenly as soil shifts, wood shims shrink, and piers sink. If you plan to level a house on piers yourself, the safe approach is slow, measured lifting and permanent support, not a single big push with a jack. This guide covers the tools, sequence, and the clear points where a professional should take over.
What You’ll Need
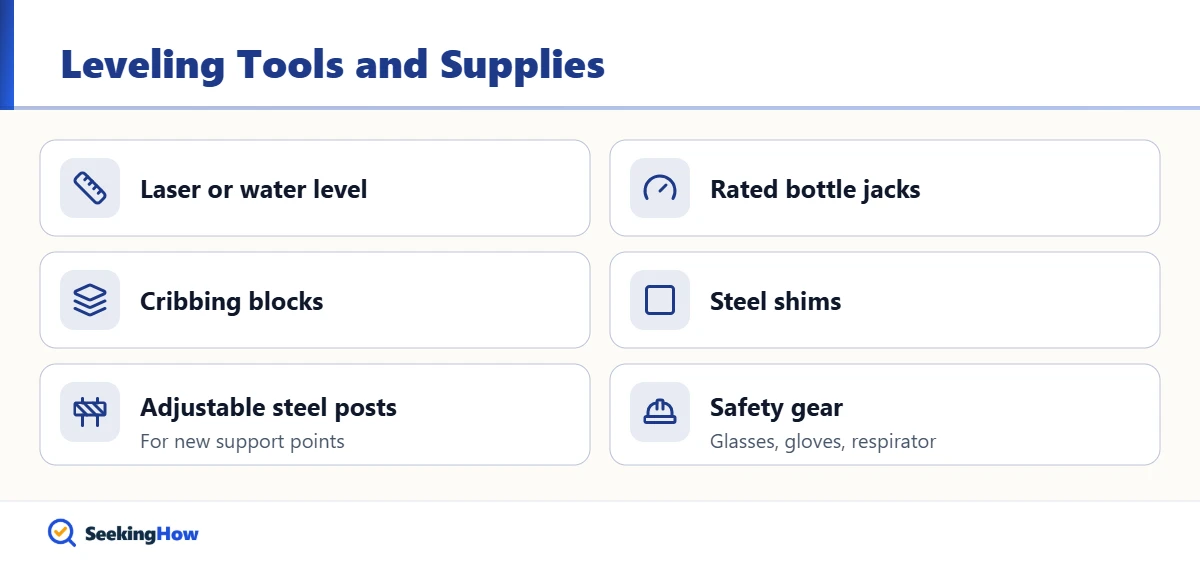
- Laser level or water level, plus a tape measure and notebook
- Hydraulic bottle jacks rated well above the expected load, commonly 12 to 20 tons each
- Hardwood or engineered cribbing blocks and a solid jack base (steel plate or thick wood pad)
- Steel shims or pressure-treated hardwood shims
- Adjustable steel pier posts or screw jacks rated for permanent use (optional)
- Concrete pier blocks or precast footings (if adding supports)
- Headlamp, knee pads, gloves, safety glasses, and a respirator or dust mask
- Pry bar, hammer, and a helper with a phone in case of emergency
How To Level a House on Piers Yourself: Step-by-Step
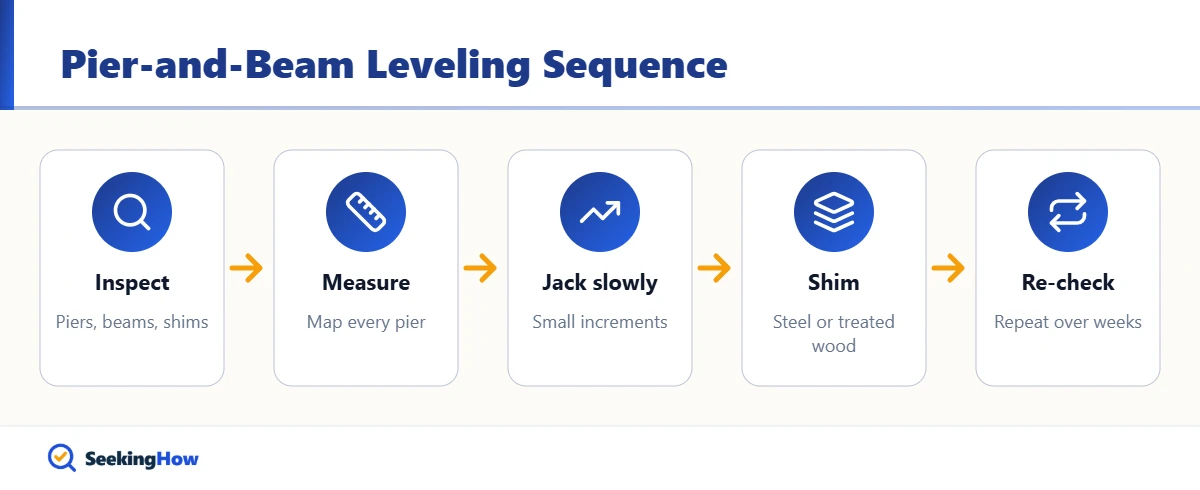
Step 1: Assess the Piers and Beams
Crawl the space with a headlamp and inspect every pier, beam, and joist. Look for cracked or tilted piers, crushed or rotted shims, and soft or split beams. If piers have sunk into the soil or are leaning, stop here and call a structural engineer, because shimming will not fix a failing footing.
Step 2: Map the Floor Levels
Use a laser level or water level to take readings at each pier location, and record them on a simple floor sketch. Find the highest point and treat it as your reference. Most people find the low spots are not where the floor feels lowest, so measure rather than guess.
Step 3: Plan Gradual Lifts
Decide how much each low pier needs to come up, and plan to lift in small increments such as 1/8 inch at a time, waiting a few days between rounds for larger corrections. Raising a house too quickly cracks drywall and tile, binds doors, and can stress plumbing. In practice, a correction of an inch or more may take several weeks.
Step 4: Set Up the Jack Safely
Place the bottle jack on a solid, level base beside the pier, directly under the beam, never under a joist or floor sheathing alone. Stack cribbing in a crisscross pattern as the house rises, keeping it within an inch or so of the beam. Never place any part of your body under a beam held only by a jack.
Step 5: Lift and Shim
Raise the beam just enough to take the load off the old shims, remove them, and insert new steel or treated hardwood shims to the new height. Lower the jack so the beam bears fully on the shims. Shims should cover the pier cap evenly; loose stacks of small pieces can shift.
Step 6: Add Support Where Spans Sag
Where a beam sags between piers, add a new pier on a proper footing with an adjustable steel post. Footing size and depth depend on soil and local code, so check requirements before digging. Temporary jacks are not permanent supports.
Step 7: Re-Measure and Repeat
Take new level readings after each round and update your sketch. Watch doors, windows, and drywall upstairs for new cracks, a sign to pause. Stop when the floor is within an acceptable tolerance rather than chasing perfect level on an old house.
Bottom line: DIY leveling works when piers are sound and only shims have failed; when piers themselves are sinking or cracked, hire a foundation pro.
DIY vs. Professional Leveling
| Situation | DIY realistic? | Typical approach |
|---|---|---|
| Shrunk or crushed wood shims | Yes | Jack, replace with steel or treated shims |
| Sag between sound piers | Often | Add pier with adjustable post on footing |
| Rotted beam or sill | With experience | Support, then sister or replace beam |
| Sinking or tilted piers | No | Engineer evaluation, new footings |
| Whole house more than an inch or two out | No | Foundation contractor |
If That Didn’t Work
Problem: The floor settles again within months. Cause: Soft soil or undersized footings. Fix: Have an engineer evaluate the soil and footings.
Problem: Drywall cracks while lifting. Cause: Lifting too fast or too far. Fix: Pause for several days and lift in smaller steps.
Problem: A door now binds at the top. Cause: One side lifted more than its neighbor. Fix: Re-measure and adjust adjacent piers.
Problem: Moisture keeps rotting shims and beams. Cause: Poor crawl space drainage or ventilation. Fix: Correct grading, add a vapor barrier, and see how to skirt a house on piers with proper vents.
Safety and When To Call a Pro
Crawl space jacking can crush you if a jack slips, so always crib as you lift and keep a helper nearby. Call a structural engineer or foundation contractor if piers are cracked, leaning, or sinking, if a beam is split or rotted through, if the house sits on a slope, or if plumbing or gas lines run close to the lift points. Check with your local building department about permits before major work.
Prevention Tips
- Keep gutters and downspouts directing water well away from the piers.
- Maintain crawl space ventilation and a ground vapor barrier.
- Recheck floor levels every year or two and after heavy rains or droughts.
- Plan any future expansion carefully; see how to build an addition on piers.
Related Guides
- How To Skirt a House on Piers
- How To Build an Addition on Piers
- How To Repair Foundation Cracks in Concrete Walls
Sources
- International Code Council, International Residential Code foundation requirements (iccsafe.org)
- Occupational Safety and Health Administration, confined space and crawl space safety (osha.gov)
- U.S. Department of Energy, crawl space insulation and moisture control (energy.gov)
Frequently Asked Questions
Can I level my pier and beam house myself?
Yes, you can often level a pier and beam house yourself if the piers are sound and only the shims have shrunk or crushed. The work involves careful measuring, slow jacking, and new shims. If piers are sinking, cracked, or tilted, hire a foundation professional.
How much can you raise a house per day?
There is no single rule, but most guidance favors small increments, around 1/8 inch per lift, with several days between rounds for large corrections. Lifting slowly lets framing, drywall, and plumbing adjust and reduces cracking. Stop if new cracks appear.
What shims are best for leveling a pier and beam house?
Steel shims are the most durable choice for leveling a pier and beam house because they do not shrink or rot. Pressure-treated hardwood shims are a common alternative. Avoid untreated softwood scraps and loose stacks of small pieces, which compress and shift.
How much does it cost to level a house on piers?
Professional pier and beam leveling commonly ranges from a few hundred dollars for minor shimming to many thousands for new piers, as of 2026. Costs vary widely by region, access, and how many piers need work. DIY shimming mainly costs jacks, shims, and time.
Do I need a permit to level my house?
Many jurisdictions require a permit for foundation repair, especially when adding or replacing piers or footings. Simple shim replacement may not need one. Call your local building department before starting, since requirements vary.
What size jack do I need to lift a house?
Bottle jacks rated around 12 to 20 tons are common for lifting a section of a pier and beam house, but use jacks rated well above the expected load and place them on solid bases. Several jacks spread the load better than one large jack.
Why does my pier and beam house keep sinking?
A pier and beam house keeps sinking when soil moisture changes, footings are undersized, or drainage sends water to the piers. Wood shims that shrink also cause gradual settling. Fix drainage and have footings evaluated if leveling does not hold.