Quick Answer
To install a fish finder on a kayak, choose a transducer location (built-in hull pocket, scupper-hole mount, side-arm mount, or shoot-through-hull), mount the display on a rail or RAM ball within reach, and power it with a 12V battery of about 7-12Ah through an inline fuse. Route cables through a sealed cable gland, then test on the water. Plan 1-3 hours.
Key Takeaways
- Check your kayak first: many fishing kayaks have a dedicated transducer pocket and battery well, which makes installation mostly drill-free.
- The transducer must sit in clean, bubble-free water and point straight down to read accurately.
- Always fuse the positive lead close to the battery, using the amp rating in your fish finder’s manual.
- Seal every hole you drill with marine sealant and a cable gland to keep water out of the hull.
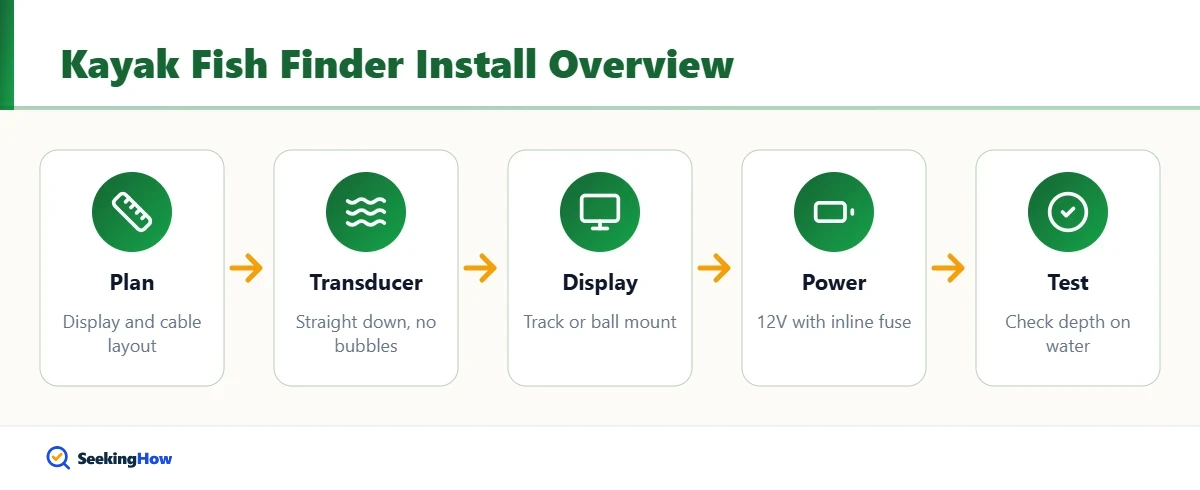
A fish finder shows depth, bottom structure, water temperature and fish arches, which takes much of the guesswork out of kayak fishing. The installation has three parts: transducer, display and power. Get each one right and the unit will work for years.
What Do You Need To Install a Fish Finder on a Kayak?
- Fish finder kit: display, transducer, power cable and mounting hardware.
- Transducer mount: a kayak-specific scupper mount, side-arm mount, or your hull’s built-in pocket plate.
- Display mount: a track adapter or RAM-style ball mount.
- Battery: a 12V sealed lead-acid or LiFePO4 battery (about 7-12Ah) with a matching charger, in a waterproof box or bag.
- Inline fuse holder and fuse, waterproof connectors, and heat-shrink tubing.
- Cable gland or through-hull grommet, marine sealant (such as 3M 5200 or a marine silicone), and zip ties.
- Drill, step bits, screwdriver, wire stripper, and crimping tool.
Where Should You Mount the Transducer on a Kayak?
Transducer placement decides how well the unit reads. It needs smooth water flow without air bubbles, a straight-down orientation, and protection from impacts when you launch or land.
| Mount type | How it works | Pros | Cons |
|---|---|---|---|
| Built-in hull pocket | Transducer bolts to a plate in a molded slot | Clean, protected, no drilling | Only on kayaks designed for it |
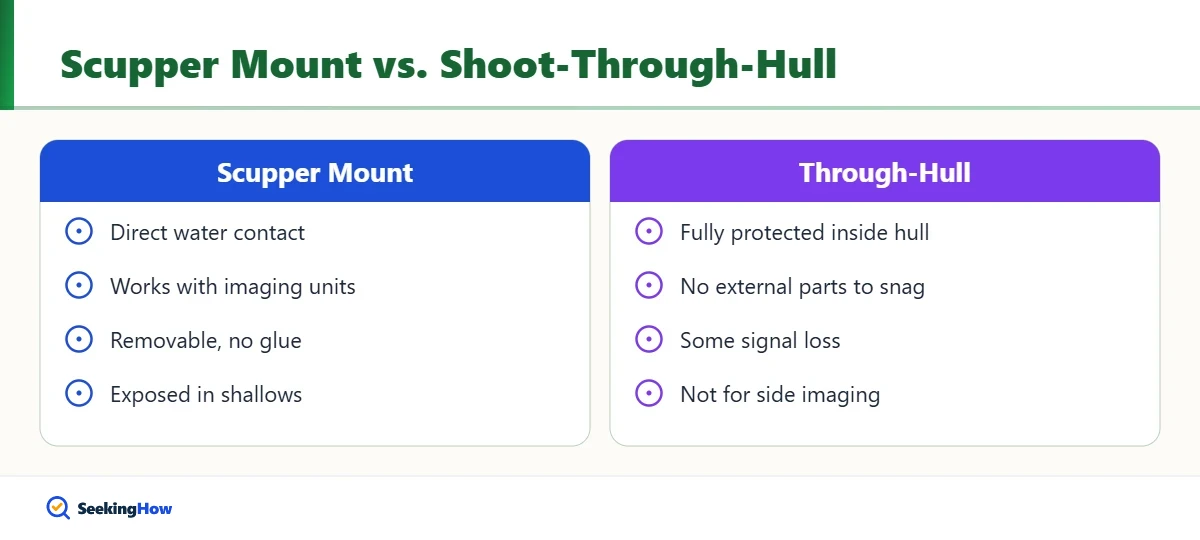
| Scupper-hole mount | Bracket passes through a scupper so the transducer sits under the hull | Simple, removable | Can catch weeds; exposed in shallows |
| Side or arm mount | Arm clamps to a rail and drops the transducer over the side | Fits almost any kayak; easy to lift | Adds drag; can snag when paddling |
| Shoot-through-hull | Transducer glued inside the hull, reading through the plastic | Fully protected; no external parts | Some signal loss; not suitable for side imaging |
Tip: Side-imaging and many down-imaging transducers need direct water contact. Check your fish finder’s manual before choosing a shoot-through-hull install.
How To Install a Fish Finder on a Kayak, Step by Step
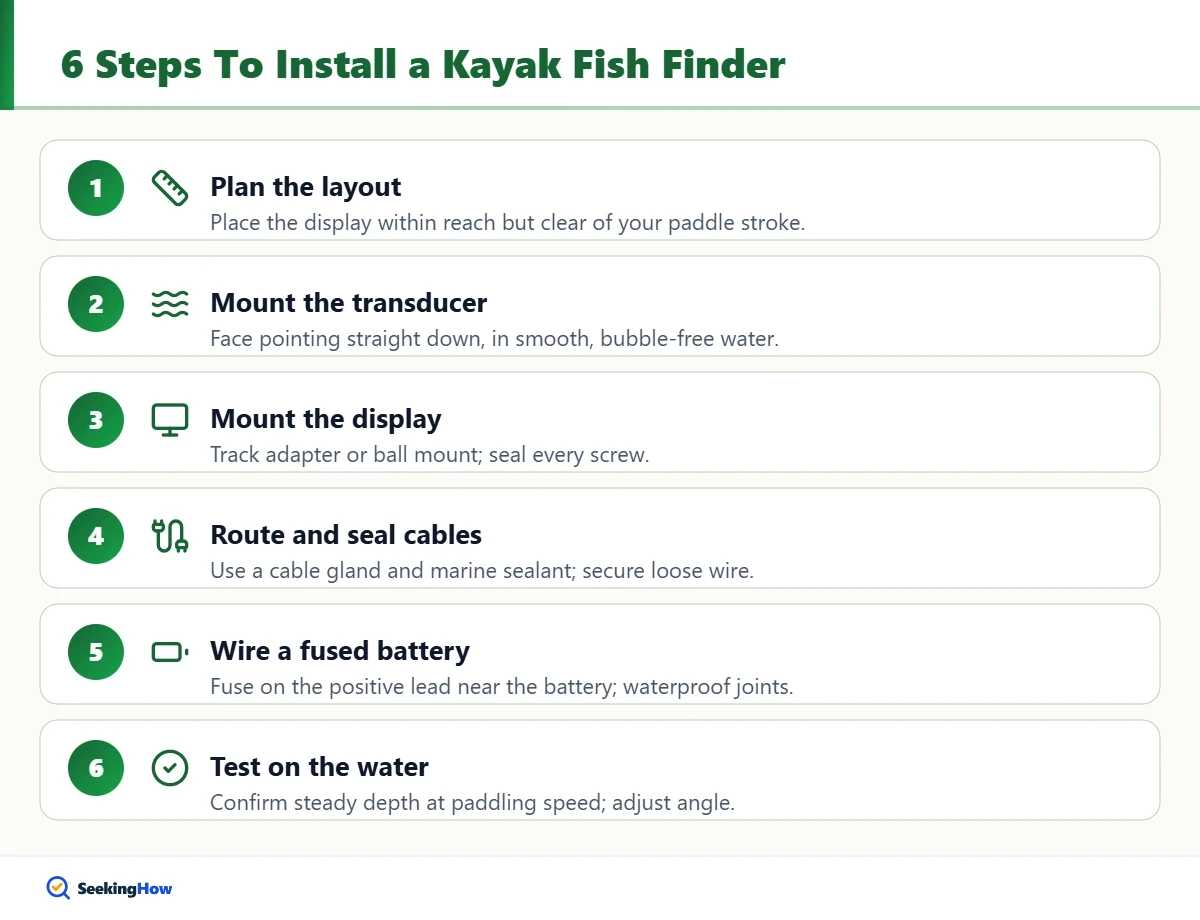
Step 1: Plan the Layout on Dry Land
Sit in the kayak and decide where the display will be: within easy reach and view, but clear of your paddle stroke and pedal drive. Lay out the transducer cable and power cable to confirm they will reach the battery and transducer location without strain.
Step 2: Mount the Transducer
Attach the transducer to its bracket so its face points straight down when the kayak is level in the water. For shoot-through-hull installs, sand the inside of the hull lightly in a flat area and bed the transducer in marine goop or sealant with no trapped air bubbles.
Step 3: Install the Display Mount
Slide a track adapter into your gear track or bolt a ball mount to a flat area of the deck, using backing washers and marine sealant on every screw. Attach the display cradle and confirm the screen tilts toward your seated eye position.
Step 4: Route and Seal the Cables
Drill only the hole you need for a cable gland, keeping it high on the deck and away from water channels. Feed the cables through, tighten the gland, and seal around it with marine sealant. Secure loose cable inside the hull with zip ties or adhesive cable clips.
Step 5: Wire the Battery With a Fuse
Connect red to positive and black to negative, with an inline fuse on the positive lead as close to the battery as possible. Use the fuse rating listed in your fish finder’s manual. Protect connections with heat-shrink or waterproof connectors and store the battery in a dry box or bag.
Step 6: Power Up and Test on the Water
Turn the unit on in water at least a few feet deep and check that it reads depth steadily at paddling speed. Erratic readings usually mean bubbles or a tilted transducer; adjust the angle or position and test again.
Safety: A short circuit in a 12V battery can melt wires and start a fire, even on a small kayak. Always fuse the positive lead, never let terminals touch metal, and disconnect the battery when charging or storing. Seal every hole so the hull cannot take on water.
How Big a Battery Does a Kayak Fish Finder Need?
Most kayak-size fish finders draw well under 1 amp, though larger screens and imaging units draw more. Divide the battery’s amp-hour rating by your unit’s current draw (listed in the specs) to estimate run time. A 10Ah battery running a unit that draws 0.8A gives roughly 12 hours in theory, but plan on less because batteries should not be drained fully.
| Battery type | Weight | Notes |
|---|---|---|
| Sealed lead-acid (SLA) | Heavier | Cheap and common; lose capacity if stored discharged |
| Lithium iron phosphate (LiFePO4) | Roughly half the weight | More expensive; more usable capacity and more charge cycles |
Fish Finder Troubleshooting on a Kayak
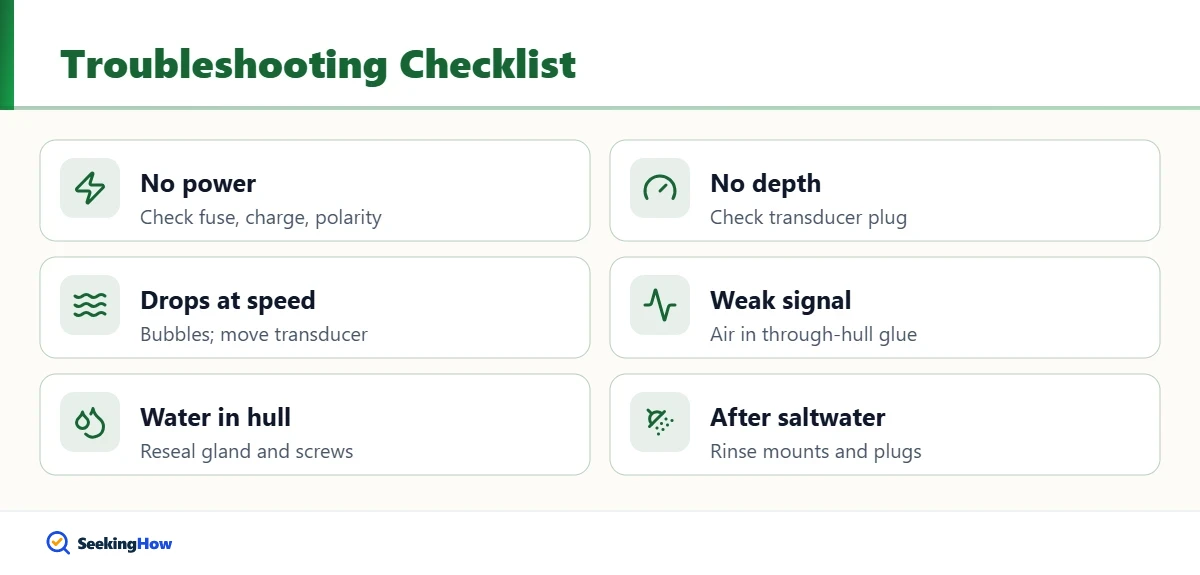
- No depth reading: check the transducer connection and that the unit is in water deep enough to read.
- Readings drop out at speed: bubbles under the transducer; move it lower or away from the bow wave and scupper turbulence.
- Unit will not power on: check the fuse, battery charge and polarity.
- Weak through-hull signal: trapped air in the adhesive or a textured hull spot; reseat it on smooth, flat plastic.
- Water in the hull: reseal the cable gland and mounting screws.
Tips for Using Your Fish Finder Once It Is Installed
Start in auto mode, then learn to adjust sensitivity and depth range. Use water temperature and bottom changes to find drop-offs, weed edges and brush piles where fish hold. Pair the electronics with sound technique; for example, a fish finder helps you place a wacky rig right on structure. If you fish deep or in current, you may also want heavier sinkers; see our guide to making your own fishing weights.
After each trip, rinse the transducer and mounts with fresh water, especially after saltwater, and recharge the battery before storage.
Frequently Asked Questions
Can you put a fish finder on any kayak?
Almost any kayak can take a fish finder. Fishing kayaks often have built-in transducer pockets and gear tracks, while recreational kayaks usually need a side-arm or scupper mount and a clamp-on or bolted display mount.
Do you need to drill holes to install a kayak fish finder?
Not always. Built-in pockets, scupper mounts and rail-clamp arms often need no drilling. If you do drill for a cable gland or mount, keep holes small, high on the deck and sealed with marine sealant.
What size battery do I need for a kayak fish finder?
A 12V battery of about 7-12Ah runs most kayak fish finders for a full day. Check your unit current draw in the specs and divide the battery amp-hours by it for a rough run-time estimate, leaving a reserve.
Does a fish finder work through a plastic kayak hull?
Standard 2D sonar can work through a polyethylene hull if the transducer is bonded with no air gaps, though with some signal loss. Side imaging and many down-imaging transducers need direct water contact.
Why does my kayak fish finder lose the bottom when I paddle?
Air bubbles passing over the transducer face are the usual cause. Lower the transducer, move it away from the bow wake or scupper turbulence, and make sure it points straight down.